Dave started his Saturday expecting to finish a cord of oak by noon. The engine ran fine, the reservoir was full, and the wedge moved when he pulled the lever. But when the wedge met the first log, it stopped. No force. No pressure. Just a running engine and a useless splitter.
A log splitter hydraulic pump not building pressure is one of the most common failures in the field. It can stem from a simple air leak, a worn relief valve, a failing pump, or a bypassing cylinder seal. The good news is that most causes can be diagnosed with a pressure gauge and a logical process of elimination. This guide walks through the symptoms, root causes, and repairs that restore splitting force.
Need more information about log splitter hydraulic pumps? You can read our complete guide to log splitter hydraulic pumps.
How a Log Splitter Builds Hydraulic Pressure

Before troubleshooting, it helps to understand what pressure means in this system. Hydraulic pressure is resistance to flow. When the wedge is free in the air, the pump moves fluid easily and pressure stays low. When the wedge contacts the log, flow is restricted and pressure rises. The pump continues to deliver fluid until the force is high enough to split the wood or until the relief valve opens.
If the pump cannot build pressure, the force never reaches the level needed to split. The wedge may extend quickly under no load and then stall as soon as it meets resistance. That specific symptom, fast no-load movement with no power under load, is a strong indicator that the system is bypassing pressure somewhere.
The Role of the Relief Valve
The relief valve is a safety device that limits maximum pressure. It opens when pressure reaches a set value, usually between 2,500 and 3,500 PSI on log splitters. If the relief valve is stuck open, set too low, or damaged internally, the pump will never build enough pressure to split hardwood. This is one of the first places to check.
Common Causes of a Log Splitter Pump Not Building Pressure
The leading causes of log splitter pressure loss include worn pumps, stuck relief valves, leaking cylinder seals, air in the lines, low or contaminated fluid, and external leaks. Each cause produces a slightly different symptom, which makes systematic log splitter hydraulic pump troubleshooting the fastest way to find the problem.
Pump Wear or Internal Bypass
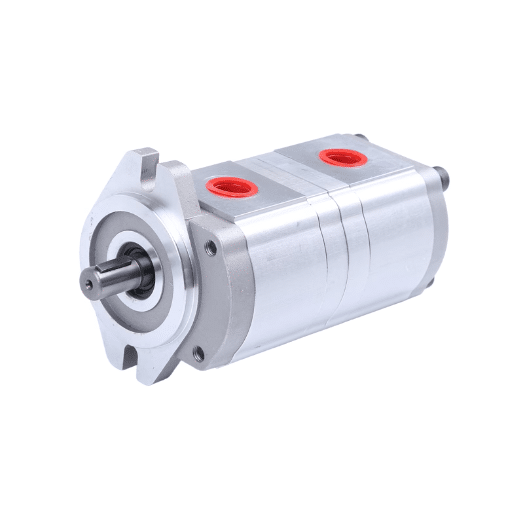
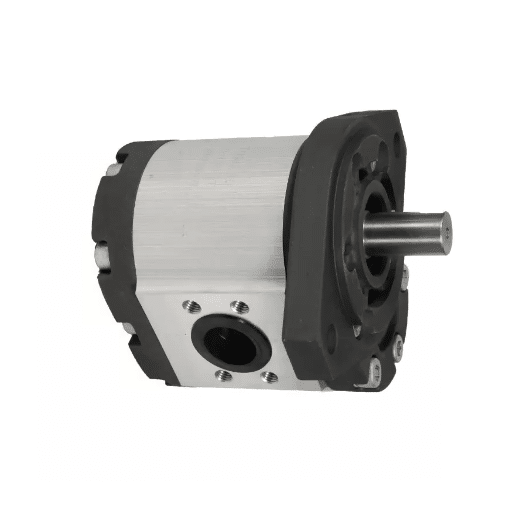
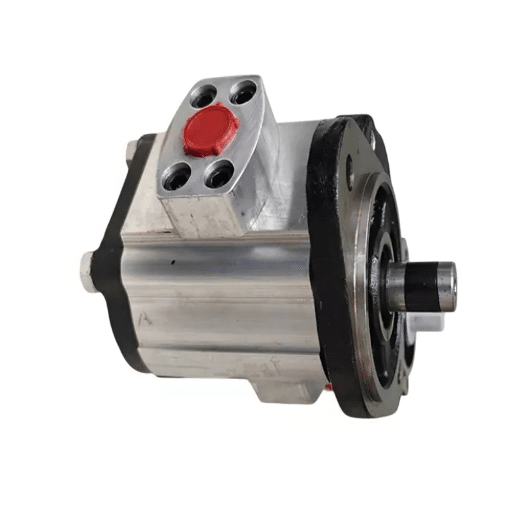
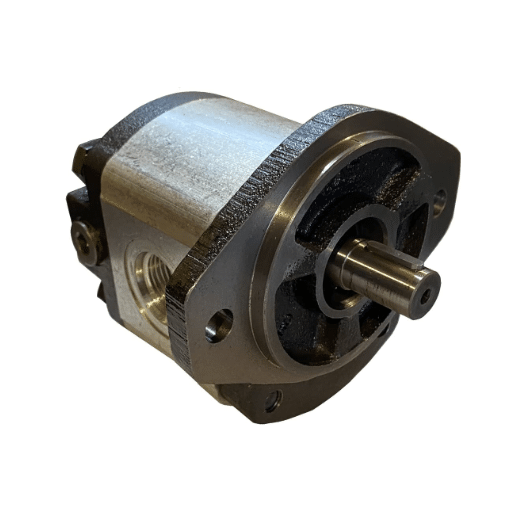
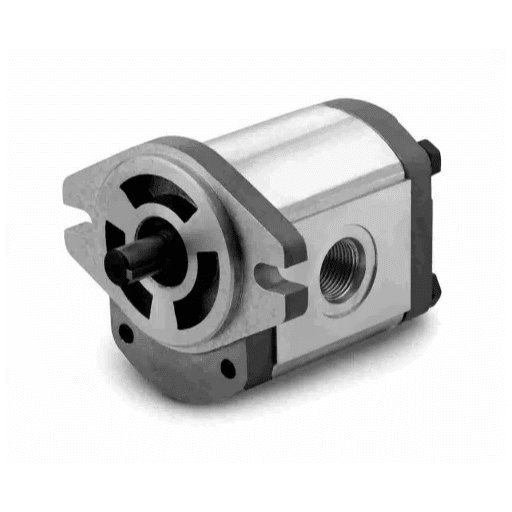
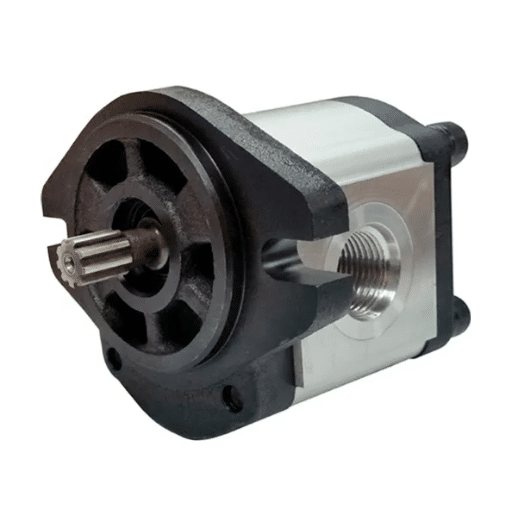
Hydraulic pumps use tight clearances between gears, pistons, or vanes and the pump housing. Different types of hydraulic pumps wear in different ways, but all develop internal clearance over time. When clearances grow, fluid slips internally instead of being pushed to the cylinder. The pump may sound normal and move the wedge quickly under no load, but it cannot generate enough pressure to split.
Internal bypass is common on older gear pumps and high-hour two-stage pumps. A flow test at rated pressure is the most reliable way to confirm pump condition. If the pump cannot maintain rated flow when deadheaded against the relief valve, it is likely worn internally.
Stuck or Misadjusted Relief Valve
A relief valve that is stuck partially open will bleed pressure continuously. This can happen from contamination, corrosion, or a weak spring. Sometimes the adjustment screw has backed out from vibration, lowering the pressure setting without any internal damage.
To test, install a pressure gauge at the cylinder port or at the pump outlet. Cycle the splitter against a solid stop or a log that will not split. If pressure peaks well below the rated setting and the valve is not chattering, the relief setting or the valve itself is suspect.
Cylinder Internal Leakage
A leaking cylinder seal allows fluid to bypass from the cap side to the rod side under pressure. The pump may build some pressure, but the cylinder cannot maintain force. You may notice the wedge creeping backward under load or the cylinder extending slowly even when the pump sounds loaded.
Internal cylinder leakage is harder to diagnose visually than external leaks because the fluid stays inside the cylinder. A load-hold test, where you pressurize the cylinder and watch for drift, can confirm the problem.
Air in the Hydraulic System
Air trapped in the lines makes the system spongy and reduces effective pressure. The pump may cavitate, producing a knocking or whining noise. The cylinder may move erratically or stall under load. Air usually enters through a low fluid level, a loose fitting on the inlet side, or an improperly sealed reservoir cap.
Low Fluid Level or Wrong Fluid
Hydraulic fluid is the medium that transfers power. If the reservoir is low, the pump can draw air and lose prime. If the fluid is too thin, too thick, or contaminated, it may not hold pressure or may leak past worn seals faster than intended. Always use the oil grade and type recommended by the pump and cylinder manufacturer.
External Leaks
Leaking hoses, fittings, or valve seals reduce pressure by providing an escape path for fluid. Large leaks are easy to spot. Small seepage at high-pressure fittings can be harder to see but still enough to prevent the system from reaching full pressure. Inspect the entire circuit with the system pressurized, using cardboard or a clean rag to catch drips.
Step-by-Step Diagnostic Process
A systematic approach saves time and prevents unnecessary parts replacement. Follow these steps in order, starting with the cheapest and easiest checks.
Step 1: Check Fluid Level and Condition
Open the reservoir and inspect the fluid. It should be clear enough to see through and free of foam, metal particles, or water contamination. Low or foamy fluid indicates air ingestion. Dark, burnt, or milky fluid should be replaced and the system flushed.
Top off the fluid if needed and run the cylinder through several cycles with no load to purge air. Recheck the level and test under load.
Step 2: Inspect for External Leaks
With the system running, look for leaks at the pump shaft seal, hose ends, valve ports, and cylinder rod seal. Pay special attention to the high-pressure side. Even a small leak can prevent pressure buildup. Tighten or replace fittings as needed.
Step 3: Test System Pressure
Install a pressure gauge rated for at least 5,000 PSI in a convenient test port or at the cylinder inlet. Cycle the splitter against a load that will not move, such as a large knotty log or a solid mechanical stop. Watch the gauge.
- If pressure reaches the rated setting and the relief valve opens, the pump is probably fine.
- If pressure stays low and the wedge stalls, the pump, relief valve, or cylinder may be bypassing.
- If pressure jumps and then drops suddenly, the relief valve may be opening early or chattering.
Step 4: Check the Relief Valve Setting
Locate the relief valve adjustment. With the pressure gauge installed, slowly tighten the adjustment while cycling the splitter under load. If pressure rises, the valve was set too low. If pressure does not rise, the valve may be stuck or worn internally. Remove and inspect the valve, cleaning or replacing it as needed.
Step 5: Isolate the Pump
If the relief valve and cylinder tests are inconclusive, isolate the pump. Remove the outlet line and deadhead the pump against a gauge. If the pump cannot build rated pressure on its own, it is worn or damaged. This test should be done carefully because trapped pressure can be dangerous. Use a proper test fixture and relieve pressure before disconnecting anything.
Step 6: Test the Cylinder
If the pump builds pressure but the cylinder still lacks force, test for internal bypass. Extend the cylinder fully under pressure, then shut off the engine and close the valve to lock the fluid in place. If the cylinder drifts inward over a few minutes, the piston seal is leaking.
Specific Repairs for Each Cause
Once the cause is identified, the repair is usually straightforward for anyone with basic mechanical skills and the right tools.
Replacing or Rebuilding the Pump
If the pump is worn internally, replacement is often the most reliable option. Rebuild kits are available for some models, but they require clean conditions and precise assembly. For commercial equipment, a replacement pump with a warranty is usually the better choice to minimize downtime. Make sure the replacement matches the original specifications, or review our guide on choosing a log splitter hydraulic pump kit.
When replacing a pump, match displacement, flow rating, shaft size, and port orientation to the original. A mismatched pump can cause the same pressure problems or create new ones.
For replacement guidance, see our log splitter hydraulic pump replacement & compatibility guide.
Cleaning or Replacing the Relief Valve
Remove the relief valve and inspect the seat, poppet, and spring for scoring, debris, or corrosion. Clean all parts with solvent and reassemble. If the seat is damaged or the spring is weak, replace the valve. Never shim a weak spring or crank the adjustment beyond the recommended range to compensate.
Rebuilding the Cylinder
A bypassing cylinder can usually be rebuilt with a seal kit. Remove the cylinder, disassemble the rod end, and replace the piston seal, rod seal, and wiper. Inspect the bore and rod for scoring. If the bore is damaged, honing or cylinder replacement may be necessary.
Removing Air and Refilling the System
After any repair that opens the hydraulic circuit, air must be purged. Fill the reservoir to the correct level. Start the engine and run the pump at low speed. Extend and retract the cylinder fully several times without load. Check the fluid level again and add oil as the system fills. Repeat until operation is smooth and quiet.
For a complete maintenance checklist, read our log splitter hydraulic pump maintenance schedule.
Preventing Future Pressure Loss

Most pressure failures are preventable with regular maintenance. A few simple habits can extend the life of the pump, cylinder, and valves.
Keep the Hydraulic Fluid Clean
Contamination is the leading cause of pump and valve wear. Use clean hydraulic oil, keep the reservoir cap sealed, and change the fluid and filter on schedule. If the splitter operates in a dusty environment, consider adding a breather filter to the reservoir.
Watch the System Temperature
High oil temperature thins the fluid and accelerates seal wear. If the reservoir feels hot to the touch during normal use, check the fluid level. Clean the oil cooler if the machine has one, and avoid continuous operation beyond the pump’s rated duty cycle.
Inspect Hoses and Fittings Regularly
Vibration loosens fittings and fatigues hoses. Check the high-pressure side regularly for leaks, cracks, or bulges. Replace hoses that show any sign of damage before they fail under load.
Set and Leave the Relief Valve
Do not use the relief valve as a pressure adjustment for different wood types. Set it to the manufacturer-specified pressure and leave it. If the pressure seems low, diagnose the cause instead of simply turning up the valve.
Quick Reference: Symptom-to-Cause Table
| Symptom | Most Likely Cause | First Check |
|---|---|---|
| Wedge stalls under load but moves fast in air | Internal pump bypass or relief valve | System pressure test |
| Wedge creeps backward under load | Leaking cylinder seal | Load-hold test |
| Knocking or whining pump noise | Air in system or low fluid | Fluid level and inlet fittings |
| Pressure drops suddenly after building | Relief valve opening early | Relief valve setting and condition |
| No pressure at all, engine loads normally | Worn pump or major external leak | Pump isolation test and leak inspection |
When to Call a Technician
Some repairs require specialized tools or experience. Call a hydraulic technician if:
- The pump fails an isolation test and you do not have a test fixture
- The cylinder bore is scored or the rod is bent
- The system pressure exceeds the rated range during testing
- You find metal particles in the fluid, indicating major internal damage
- The splitter is under warranty and repair could void coverage
For industrial and rental fleets, keeping a spare pump, cylinder seal kit, and relief valve in stock can reduce downtime significantly. A pressure gauge should also be part of every maintenance kit.
Real-World Example: A Rental Fleet Fix

The maintenance team at a regional equipment rental company noticed three of their log splitters returning with the same complaint: the wedge moved but had no splitting power. Each machine had a different engine and cylinder size, but all used the same model of two-stage pump from the same production batch.
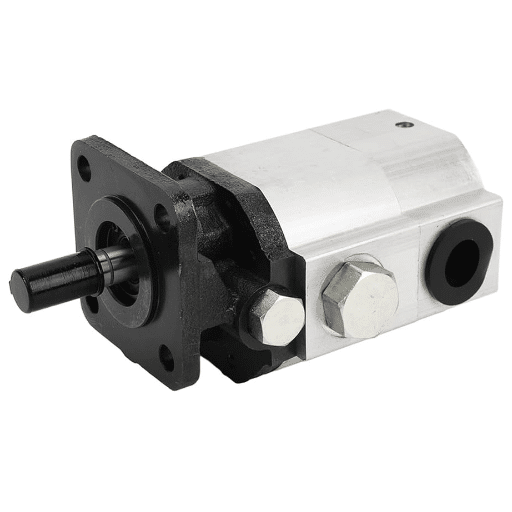
Pressure testing showed all three pumps stalling below 1,500 PSI under load. The relief valves were clean and correctly adjusted. The cylinders held pressure in a load-hold test. The common failure point was the pump. Inspection revealed worn high-pressure stage pistons caused by contaminated fluid shared during initial assembly.
The team replaced the pumps, flushed the systems, and added inline filters to the reservoir returns. They also added pressure testing to the quarterly inspection routine. The problem did not return, and rental downtime for those units dropped by more than half.
This example shows why systematic diagnosis matters. The symptoms pointed to a general pressure problem, but the root cause was a specific pump defect made worse by fluid contamination.
Frequently Asked Questions
Why does my log splitter move but not split?
The system is likely building low pressure or bypassing pressure internally. Common causes include a worn pump, a stuck relief valve, a leaking cylinder seal, or air in the system.
What pressure should a log splitter hydraulic pump build?
Most residential and commercial log splitters operate between 2,500 and 3,500 PSI. Check the manufacturer specification for your model. Pressure below the rated value usually indicates a problem.
Can a clogged filter cause low pressure?
Yes. A clogged suction or return filter can restrict flow and cause the pump to cavitate, which reduces pressure and can damage the pump. Replace filters on schedule.
How do I know if my hydraulic pump is bad?
If the pump cannot build rated pressure when isolated from the cylinder and valve, or if it makes excessive noise while failing to produce force, it is likely worn or damaged internally.
Should I adjust the relief valve to get more pressure?
Only if the pressure is below the manufacturer’s specified setting. Raising the relief valve above the rated pressure can damage the pump, cylinder, hoses, and engine. Always diagnose the cause of low pressure first.
Conclusion
A log splitter hydraulic pump not building pressure is frustrating, but it is rarely mysterious. Start with fluid level and external leaks, then test system pressure and check the relief valve. If those checks pass, isolate the pump and cylinder to find the bypass point.
The most common causes are worn pumps, misadjusted or stuck relief valves, leaking cylinder seals, and air or contamination in the fluid. Most can be diagnosed with a pressure gauge and repaired with basic tools. Regular maintenance, clean fluid, and proper relief valve settings are the best ways to prevent pressure problems from returning.
If your log splitter is losing pressure and you need replacement parts or technical guidance, contact our engineering team for support.