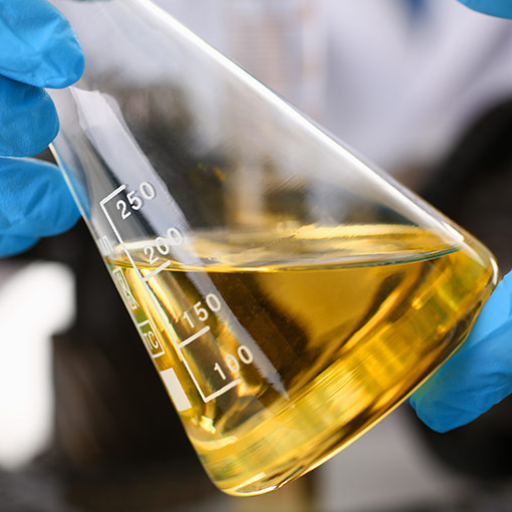
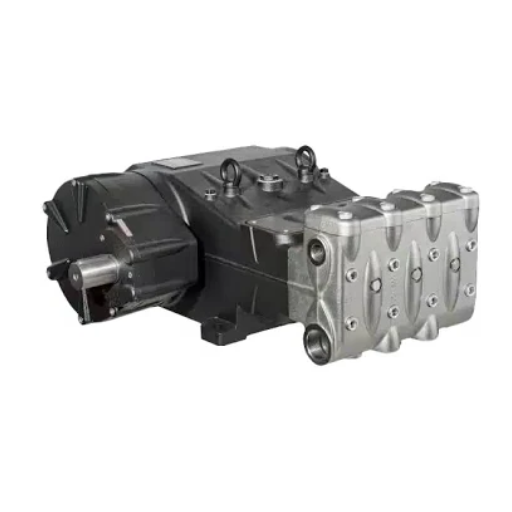
For representative hydraulic oil sampling, use an approved point, a clean kit, and the same machine conditions each time. Flush the sample path, follow the lab’s collection instructions, and record how and where you took the oil.
A laboratory measures what reaches its bottle. Did the machine change, or did someone take the oil in a different way? That is a fair question.
This guide helps you choose a method, keep each visit consistent, and save the details a lab needs. You can then compare reports on a clear basis.
Key Takeaways
- Match the hydraulic oil sampling point to the question you need answered.
- Keep routine collection conditions consistent and record any exceptions.
- Treat path flushing and sample-bottle preparation as separate tasks.
- Use the laboratory’s bottle, fill, and shipping instructions.
- Check collection history before treating a surprising result as a maintenance instruction.
Before comparing particle results, read our ISO 4406 cleanliness guide. It explains how the sample basis affects report comparisons.
Choose a hydraulic oil sampling point for the question you need to answer
Routine circulating-oil monitoring
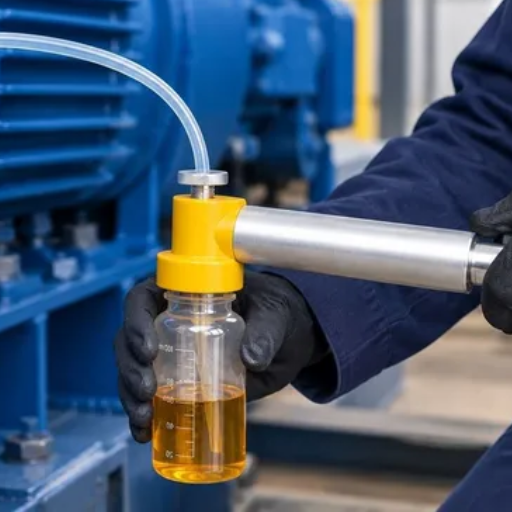
The easiest point to reach may answer the wrong question. Routine hydraulic oil sampling needs a set point that reflects the oil you want to check. Oil trapped in a branch, or settled in a tank, may hold a different mix of particles from oil in a flowing line.
The public ISO 4021 abstract favors a main flowline in a running system when checking particle contamination. It allows a reservoir sample when no suitable line sampler is fitted. That does not mean every line answers every question. Match the point to the task.
Filter checks and targeted investigations
Use the hydraulic oil sampling purpose to choose the point:
| Question | Sampling-point strategy | Important limit |
|---|---|---|
| What is the condition of circulating oil? | Defined, well-flowing monitoring point | Keep the same point for the trend |
| What changes across a filter? | Approved upstream and downstream points | Record comparable operating conditions |
| What fluid reaches a sensitive component? | Approved point in its supply line | Describes supply at that location |
| Is a particular circuit shedding debris? | Diagnostic point downstream of that circuit | May not represent the whole system |
| Is free water collecting at the reservoir bottom? | Targeted investigation under an approved procedure | Keep separate from routine trending |
Illustrative scenario: One technician collects before a filter; another collects after it. Both bottles carry the same machine number. Their reports differ, but the team can’t call this a change over time: the points were different.
For hydraulic oil sampling, write the purpose and point identifier into the machine’s monitoring plan. The hydraulic pump filtration overview provides background on filter location; use the actual circuit drawing to identify your point.
Prepare a repeatable hydraulic oil sampling procedure
Operating condition and timing
A clean kit can’t make up for a change in machine state. The approved hydraulic oil sampling procedure should state which functions to run, the machine state, and how to reach the point safely. Record whether the system was working, idling, or stopped, and whether that matches previous samples.
If the method calls for a sample from a running system, a trained person must use a kit built for that task. Where safe reservoir access requires shutdown and isolation, follow that requirement. Never loosen a hydraulic fitting to make a live sampling point. Do not operate an unsafe machine just to reproduce an earlier sample.
Schedule routine hydraulic oil sampling before oil changes, top-ups, or other service where practical and allowed by the monitoring plan. If work has already happened, record it. A post-service sample may be useful, but it answers a different question from a pre-service condition sample.
Clean kit, pressure rating and bottle instructions
Before hydraulic oil sampling, confirm these items:
- Asset and component identity, approved point and requested tests.
- The correct laboratory bottle, cap, label and submission form.
- Compatible tubing, seals and connector, with ratings suitable for the actual conditions.
- The specified flushing method, sample quantity and bottle fill level.
- Safe access, required protective equipment and a controlled waste container.
Keep new bottles sealed until use. A bottle can look clean and still be wrong for particle counting. Ask the lab which bottle type and cleanliness level the tests need. Check how to handle it, too.
Keep lint, dirty gloves, and exposed tubing away from bottle openings. A spare clean bottle is useful if handling goes wrong; replacing a compromised bottle is preferable to hiding the incident in a trend record.
Place this procedure alongside the broader hydraulic pump oil maintenance guidance. The sampling instructions should identify who supplies the kit and who receives the sample. Do not assume those tasks are included in a general service visit.
Hydraulic oil sampling from a fitted valve: collection steps
Check the approved point and clean the exterior
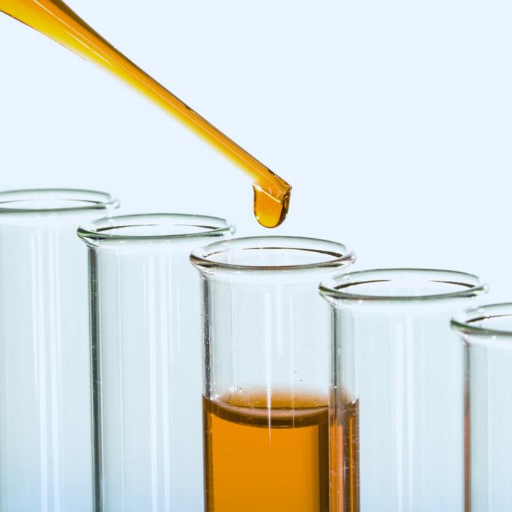
Use this sequence with the machine-specific procedure and a suitable installed sampling valve. These steps do not make an unknown kit safe on a live circuit. Unsure about the point, fitting, or pressure? Stop and get the right procedure before you connect anything.
- Confirm the point and machine state. Match the point identifier to the work order. Record the operating condition and oil temperature if available through the approved instruments. Check that safe collection can be maintained throughout the task.
- Prepare the collection area. Arrange the waste container, protected sample bottle, and label. Clean the valve exterior as directed before exposing the connection. Avoid pushing surface dirt into the access point.
- Connect the specified sampling assembly. Follow its connection instructions and keep the discharge controlled. Use only a compatible assembly with suitable pressure and temperature ratings. Do not improvise adapters or use your hand to check for leaks.
Flush the complete sampling path
The first oil from an idle hose may reflect that hose, not the oil now flowing in the system. Hydraulic oil sampling therefore needs a defined flush path, including the valve, adapters, and collection tubing. Direct the initial discharge into the waste container before collecting the laboratory sample.
- Flush using the approved method. Apply the specified quantity or other validated criterion for that assembly. Do not substitute a guessed number of seconds. Never return discarded flush oil to the reservoir as part of this collection procedure.
ICS Schneider’s October 2026 sampling guidance explains why a single flush volume cannot fit every valve and hose arrangement. For hydraulic oil sampling, note the full path rather than relying on memory.
Path flushing and bottle rinsing are different jobs. Flushing clears retained oil from the valve and hose; rinsing changes the inside of the bottle. Do not rinse a precleaned particle-count bottle unless the receiving lab tells you to. If instructions conflict, ask the lab which apply to your kit and tests before you collect.
| Hydraulic oil sampling flush-path worksheet | What to enter |
|---|---|
| Point and assembly | Valve ID, connector and tubing identification |
| Tubing geometry | Internal diameter and length, where known |
| Other retained volume | Valve, adapters and any additional cavities |
| Approved flushing requirement | Procedure reference and required quantity or criterion |
| Actual collection | Method followed and any deviation |
Illustrative scenario: A technician replaces a short collection tube with a longer hose. The old instruction may no longer cover the oil held in the new path. Before the next hydraulic oil sampling visit, the team checks the revised assembly against its approved flush requirement.
For a labeled arithmetic example, take a straight tube with a 2 mm bore and a 1,000 mm length. Its inner volume is about 3.14 mL: V = pi × d² × L / 4. This excludes valves and adapters; it is not a tested flush quantity or a recommended multiplier. Geometry tells you the space inside the tube; the approved method tells you how to clear it.
Collect, close, and restore the point
- Collect into the correct bottle. Keep the cap’s inner face and bottle mouth untouched. Avoid contact between the outlet and bottle interior. Follow the laboratory’s sample quantity and fill instructions; leave the headspace it requires.
- Close and protect the sample. Cap promptly. If dirt gets into the bottle or cap, follow the lab’s advice on a new bottle or fresh sample. Do not send it without a note.
- Restore the point and document the work. Stop flow and disconnect in the assembly’s specified sequence. Restore its protective cap, check the area using the approved method, and record any abnormal condition.
For hydraulic oil sampling training, Altorfer Cat’s demonstration illustrates separate clean-out collection and protected cap handling. The provider also supplies a transcript. Its fill and machine-start steps apply to its example; use your own lab and machine procedure for those details.
If a reservoir sample is the only approved option
Choose a repeatable depth and safe access
A tank sample can still be useful. Its limits must travel with it. For routine hydraulic oil sampling, record that it came from the reservoir rather than a flowing monitoring line. Do not quietly combine the two methods in one trend.
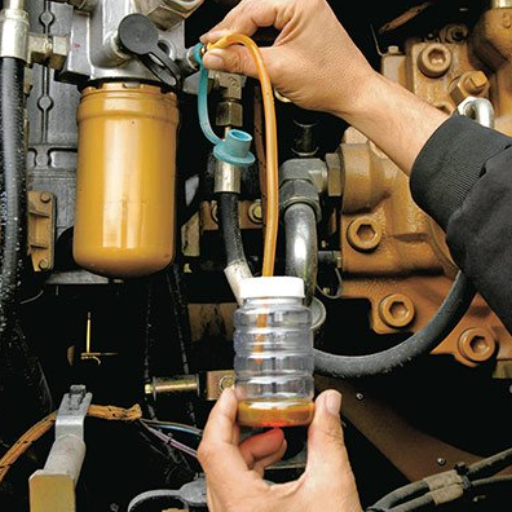
Use a vacuum kit that meets the lab’s needs, and only where the machine’s safe-access rules allow it. Stop, isolate, or otherwise secure the equipment as that procedure requires. Never open a pressurized reservoir to follow a generic sampling guide.
The ALS oil-sampling bulletin distinguishes circulating-system and reservoir methods. For a tank sample, choose the approved access and a zone that reflects the oil you need to check. Use the same place and depth next time. Draw a sketch from a fixed reference so “near the middle” does not leave the next person guessing.
Keep tubing away from walls and settled debris
Use fresh, compatible tubing as required by the laboratory’s method. Keep the entry end protected before insertion and avoid scraping the opening, reservoir wall, or bottom. Do not use visibly dirty tubing simply because the pump itself looks clean.
Draw the required flush quantity separately before taking the final sample. Follow the kit instructions so oil does not contaminate parts intended to stay dry. Keep the bottle protected during connection, and use the specified fill level and closure method.
A bottom sample collected to find settled water or debris has a different hydraulic oil sampling purpose. Label it as a targeted sample, with its location and objective, rather than presenting it as the normal circulating condition. Appearance alone cannot establish acceptable particle cleanliness or identify the cause of cloudiness.
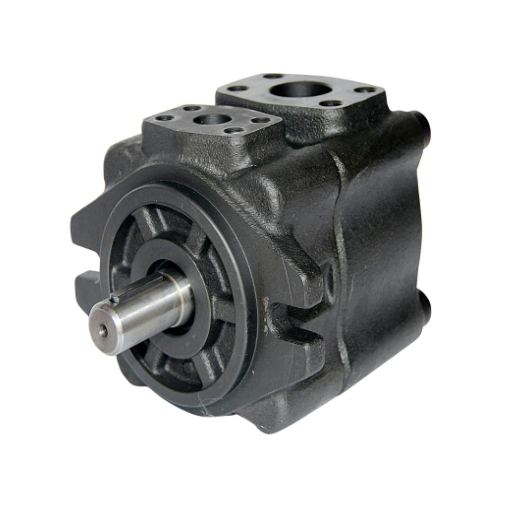
When hydraulic oil sampling forms part of vane pump maintenance, keep the method in that asset’s maintenance record. The next person should know where to put the tube and which safe-access steps to follow.
Label, send, and preserve the sampling context
Minimum identification and operating fields
A bottle without an ID cannot become a useful trend point. Complete the hydraulic oil sampling record while the machine and collection details are still available. Match the bottle identifier to the submission form before dispatch, especially when collecting from several similar machines.
Use the following field record with the receiving laboratory’s own form:
| Hydraulic oil sampling record | Details to capture |
|---|---|
| Identity | Asset ID, component or circuit, sample ID and sampler |
| Location | Point ID, purpose, valve or reservoir method, depth if applicable |
| Timing | Collection date/time, machine hours and oil service age if known |
| Fluid | Product and viscosity grade; mark unknown information honestly |
| Machine state | Duty, running/stopped condition and measured temperature if available |
| Recent changes | Oil additions, oil/filter changes, repairs, and other relevant work |
| Collection | Kit, flush requirement followed, bottle type and exceptions |
| Request | Tests requested, symptoms or question, and dispatch details |
For hydraulic oil sampling, separate measured facts from what someone recalls. “Unknown oil hours” is clearer than an invented estimate. If someone may have added a different oil, tell the lab. Don’t pick a product name just to fill the box.
Service changes, handling and dispatch
Illustrative scenario: A technician records a top-up between two samples. When the next report differs, the reviewer can consider that service change alongside the point and machine state. The record doesn’t prove that the top-up caused the change. It gives the reviewer a fact to check instead of a gap to guess at.
Seal and package the bottle according to the laboratory and carrier instructions. Send it promptly, keeping paperwork readable and protected from leaks. Confirm any special handling requirements for unusual fluids or suspected contamination. Do not promise a report date without the receiving laboratory’s confirmation.
Keep a copy of this record alongside the relevant axial piston pump maintenance log. Complete it before dispatch. Hydraulic oil sampling details should not depend on the sampler being there when the report arrives.
Check sample quality before interpreting a surprising result
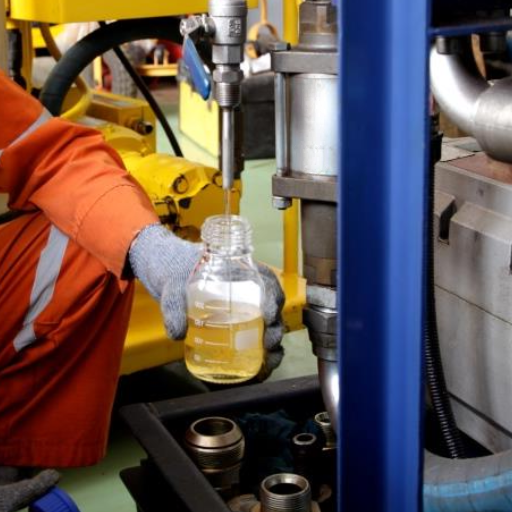
When results may not be comparable
A surprising result needs a check before it drives a repair. First check whether the two bottles describe the same point, method, and operating condition. Hydraulic oil sampling errors can add contamination, while a changed location can alter what the sample represents.
| Check | Question to resolve | Useful next step |
|---|---|---|
| Point | Was one bottle taken before a filter and another after it? | Separate the locations in the record |
| Machine state | Was the routine sample replaced by a cold, settled reservoir sample? | Mark the changed basis |
| Handling | Did a cap fall, tubing touch debris, or the flush path change? | Tell the laboratory what happened |
| Service | Was oil added or a component serviced between samples? | Supply the dated maintenance entry |
| Identity | Do bottle, form, and report refer to the same circuit? | Resolve identification before comparison |
Read the lab’s test method and any notes on hydraulic oil sampling quality as well. The test or oil may need further checks, even if you took the sample with care. Do not discard the report merely because the result is inconvenient.
When to ask for confirmation
Does the hydraulic oil sampling record show a dirty bottle or a change in method? Ask the lab and the person responsible for the machine whether to take a fresh sample. Retain the original result and explain why a repeat was requested. A cleaner repeat doesn’t prove the first bottle was wrong; keep both records.
If the machine shows faults or a major alert, follow the site’s escalation procedure while those checks proceed. This guide cannot establish whether operation is safe. Use the published ISO guide for particle-code conventions and equipment-specific target context; detailed report interpretation is a separate task from collecting a credible sample.
Sampling checklist and frequently asked questions
Before dispatch, check the point, machine state, clean kit, documented flushing, correct fill, sealed cap, matching label, and complete service history. These checks make hydraulic oil sampling repeatable without imposing one machine’s settings on every system.
Where is the best hydraulic oil sampling point?
Choose an approved point that represents the question you need answered. A defined flowing line is generally preferred for routine particulate monitoring. Filter assessment, component-supply checks, and reservoir-bottom investigations need different locations. Record the purpose and keep the same point when building a routine trend.
Can I take the sample with the machine stopped?
Yes, where the approved method permits or requires it, but record that condition. A stopped-system reservoir sample may differ from circulating oil. Follow the machine’s safe-access requirements and the laboratory’s method. Do not start an unsafe machine or improvise live access to match an earlier sample.
How much oil should I flush?
Use the approved flush requirement for your kit and procedure. It must account for the valve, adapters, and tubing, not just the bottle size. There is no universal quantity for all arrangements. Recheck the requirement when the path changes, and collect flush oil separately from the final sample.
Should I rinse a laboratory sample bottle?
Follow the receiving laboratory’s bottle instructions. Do not automatically rinse a certified precleaned particle-count bottle because another guide describes rinsing a different container. Flushing the valve and tubing is a separate task. If the bottle’s status or treatment is unclear, resolve it with the laboratory before collection.
How often should I sample hydraulic oil?
Set the interval through the machine’s monitoring plan, based on duty, risk, history, and lab advice. Use consistent collection conditions so the series remains useful. Extra samples can help check a fault or recent service work. Label that purpose so the lab knows it is not a routine trend point.
Keep hydraulic oil sampling records with maintenance decisions
Use this hydraulic oil sampling record on your next approved collection visit, then keep it with the relevant hydraulic gear pump maintenance record. A bottle, its collection context, and the resulting report belong together when planning the next maintenance action.