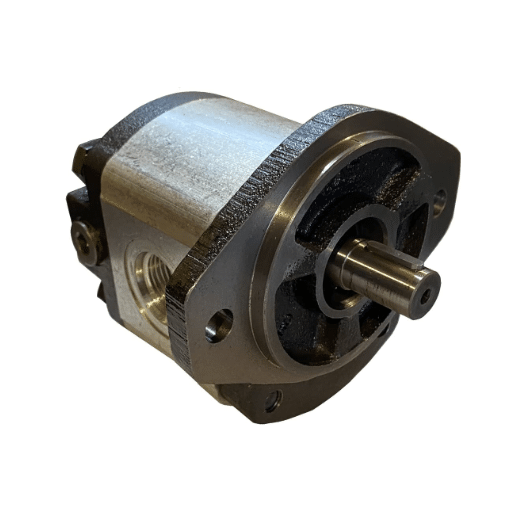
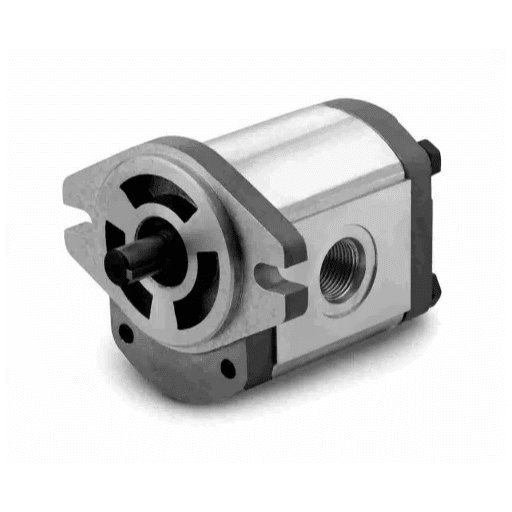
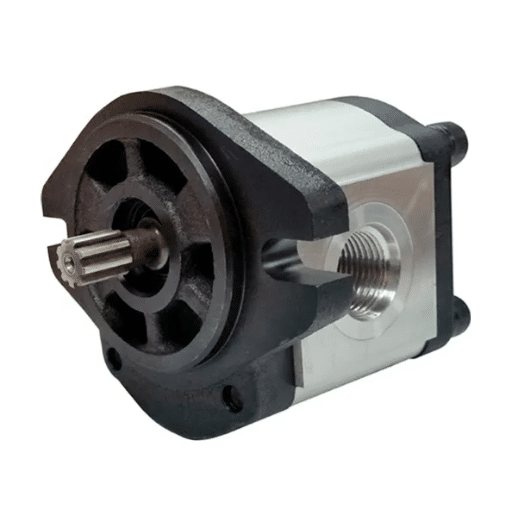
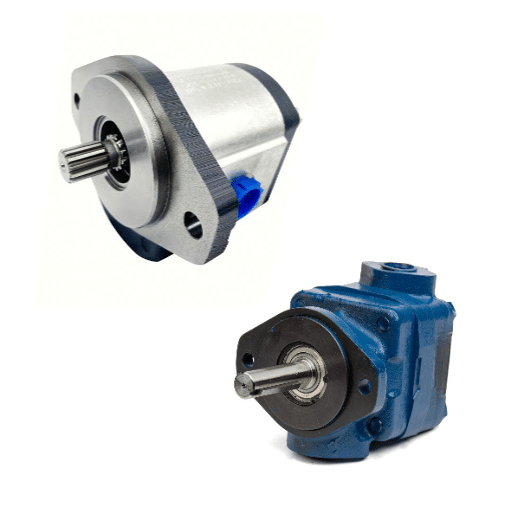
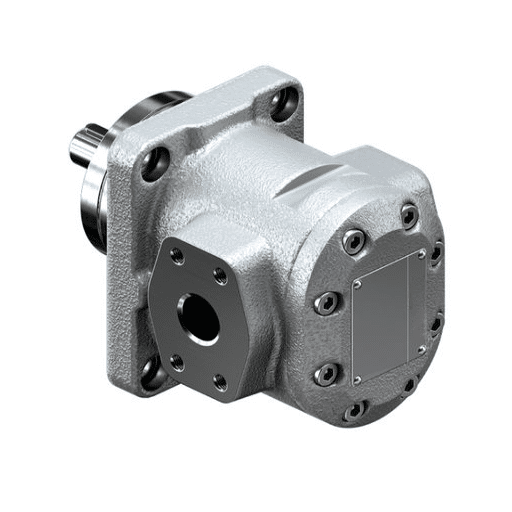
Dean had already written the work order. The auxiliary gear pump on a wheel loader had lost flow; the reservoir was full, and the machine was five years old. He pulled the pump, bolted on a replacement, and closed the job.
Seven months later, the same complaint came back on the same machine, and the second pump wasn’t defective either. A clogged breather had been feeding abrasive dust into the reservoir since the loader was new, so both pumps were worn out by the same dirty oil.
That’s the trap in hydraulic gear pump troubleshooting. The pump’s usually the last component to fail and the first one to get blamed. A gear pump is a positive displacement pump, which means it delivers a nearly fixed volume of oil per revolution and lets the system create pressure downstream. When flow drops, the fault’s just as likely to sit in the suction line, the relief valve, or the fluid as inside the pump itself.
This guide gives you a 5-step diagnostic sequence to work through in order, symptom-to-cause tables with measurable thresholds, the flow-loss (slip) test that settles the wear question, and clear rules for repair versus replace.
If you want the full system background first, our complete guide to hydraulic gear pumps covers types, construction, and selection. This article assumes you already know how the pump works and focuses entirely on finding the fault.
Running a two-stage or HI/LO pump instead? Unloader-valve, check-valve, and transition-pressure faults behave differently and are covered in our HI/LO and two-stage pump troubleshooting guide. This article covers single-stage external and internal gear pumps only.
Already certain the pump is worn, not failing? Request a specification sheet and our engineers will match your nameplate data to a factory-direct replacement, so you’re comparing the right flow and pressure rating before you order.
Start Here: A 5-Step Gear Pump Troubleshooting Sequence

Work in order. Skipping ahead is how technicians end up replacing a healthy pump. In field practice, most “worn pump” verdicts die at Step 3 or Step 4, long before the pump is the problem.
Safety first. Isolate the machine with lockout/tagout, and remember that stored hydraulic pressure doesn’t bleed off by itself. Cycle the controls with the power off to release trapped pressure and vent any accumulators. Hydraulic oil under pressure can penetrate skin through a pinhole leak, and that’s a medical emergency, not a workshop nuisance. Let hot oil and hot casings cool before you open a line.
- Confirm rotation and drive. Check that the pump turns in the correct direction for its designated rotation, that the coupling or drive key is intact, and that shaft speed matches specification. A pump driven backwards won’t build pressure, and a sheared drive pin lets the shaft spin while nothing turns inside.
- Assess the fluid. Check level with the machine level and cylinders retracted. Look at colour, clarity, foam, and smell, and check viscosity and water content if you’ve got the kit. Fluid that’s dark, milky, foamy, or burnt is an active fault, not a cosmetic issue.
- Inspect the suction path. Examine the suction strainer, the suction hose for collapse or a soft spot, and every joint on the inlet side for air ingress. Confirm inlet pressure with a vacuum gauge. Target 0.8 to 3.0 bar absolute, with a 0.6 bar minimum at cold start, and watch for a vacuum reading that climbs as the oil warms, which points to a restricted strainer.
- Gauge the outlet pressure under load. Tee a calibrated gauge into the pump outlet and load the circuit. Compare the reading against the machine’s specification, not against a guess. If pressure is low at the pump, the fault is upstream or internal; if pressure is good but the function is weak, the problem is flow, not pressure.
- Run the flow-loss (slip) test and check casing temperature. This is the step that separates a worn pump from a system fault. Measure delivered flow at operating temperature and rated pressure, compare it to the theoretical flow for that shaft speed, and feel the casing. Details are in the slip-test section below.
Only after those five steps should you consider pulling the pump.
How a Gear Pump Fails (and Why It Rarely Fails All at Once)
A gear pump produces flow. The system’s resistance to that flow produces pressure. That single fact reframes most gear pump troubleshooting: “no pressure” almost always means “no flow” until you prove otherwise, and flow is lost upstream of the pump as often as inside it.
Gear pumps degrade gradually. Oil slips backward through the clearances between the gear faces, side plates, and bores, and those clearances open as the pump wears. The result’s a slow decline in volumetric efficiency, not a dramatic failure.
Vane pumps commonly fail suddenly when a vane or rotor breaks. That difference matters: a gradual loss is measurable, so it can be diagnosed before the pump is condemned.
Hold onto one more number: fluid-power reliability studies consistently put roughly 70% to 80% of hydraulic failures down to contaminated or degraded fluid rather than mechanical fatigue. The pump is usually the victim, not the cause.
Dean’s loader is the classic version. The pump measured 18% down on flow at about 3,100 hours, which looked like normal wear. A clogged breather had been drawing dust into the reservoir, so the wear was the visible end of a fluid problem that would have killed the replacement too.
Gear Pump Not Building Pressure: No or Low Pressure
The primary symptom behind “gear pump not building pressure” is rarely the pump alone. Use the clues below to narrow it down before you spend money.
| Symptom clue | Likely cause | Field check and fix |
|---|---|---|
| No pressure, pump is turning | Lost prime, low oil level, or a suction leak | Bleed the pump, top off the reservoir, tighten or replace suction fittings and hoses |
| Correct pressure when cold, weak when hot | Internal slip from worn gear faces and side plates | Run the slip test at operating temperature, then rebuild or replace |
| Pressure rises, then collapses under load | Relief valve stuck open, set too low, or leaking internally | Gauge-test the relief, clean the seat, adjust to specification, or replace the valve |
| Pressure is fine, but flow is low | Worn end faces or plates, or a clogged return filter | Slip test plus a filter inspection; replace the element and recheck |
| Nothing at all, shaft spins freely | Sheared drive pin or key, or a stripped shaft | Teardown inspection; replace the drive coupling or the pump |
Two notes that save a lot of unnecessary replacements. First, as Pumps & Systems has documented, a pump-mounted relief valve that’s partially bypassing can rob 30% to 40% of flow with a chattering noise, and it’s routinely misdiagnosed as a worn pump. Second, if the machine is running slower than it should across every function, check the expected flow for your displacement and drive speed before blaming the pump. Our how to size a gear pump guide explains how displacement, rpm, and volumetric efficiency set the flow you should actually see at the outlet.
Gear Pump Noise Causes: Excessive Noise and Vibration

Noise is the earliest warning a gear pump gives you, and the character of the sound narrows the cause faster than any gauge. Listen before you measure.
| Sound | Likely cause | Field check |
|---|---|---|
| Gravel, marbles, or hammering | Cavitation | Suction strainer, inlet pressure, oil viscosity |
| Continuous hiss or crackle | Aeration (air entrainment) | Level check, grease-test the suction joints, inspect the return line |
| Rhythmic clatter that tracks rpm | Gear or bearing wear | Slip test and bearing play measurement |
| Low rumble | Bearing failure | Replace the bearing or the pump |
| Buzz or chatter near the relief | Relief valve chatter | Verify the setting and inspect the valve seat and spring |
| Growl with visible vibration | Coupling misalignment or loose mounting | Check coupling alignment, coaxiality, and mounting-bolt torque |
Gear Pump Cavitation Symptoms vs Aeration
Cavitation and aeration are described interchangeably online, but they’re different faults with different fixes. Cavitation is vapor forming and collapsing inside the pump because inlet pressure has fallen too low. Aeration is air being drawn into the system from outside. One damages the pump over time; the other mostly robs performance and creates foam.
| Cavitation | Aeration | |
|---|---|---|
| What is in the bubble | Oil vapour | Air from the atmosphere |
| Where it comes from | Inlet restriction, high suction lift, oil too hot or too thin | Leaking suction joint, low reservoir level, return line above the oil |
| Sound | Sharp crackle, gravel, or hammering | Continuous hiss, gurgle, or crackle |
| Oil appearance | Usually clear, may darken as damage progresses | Foamy, milky, or full of fine bubbles |
| Field test | Watch inlet vacuum as the oil warms; restrict flow and listen | Grease or oil-test the suspect suction joints one at a time |
| Long-term effect | Erosion of gear faces, plates, and bores | Reduced flow, spongy response, accelerated oxidation |
| Fix | Clean the strainer, correct viscosity, lower suction lift, increase inlet line size | Seal the air path; don’t simply top up the reservoir |
What does gear pump cavitation sound like? Cavitation sounds like gravel or marbles being rattled inside the pump housing, a sharp, irregular crackle that gets worse as the oil warms and thins. Aeration is a softer, continuous hiss or gurgle. If the noise is harsh and clicking, suspect cavitation; if it’s a steady hiss with foamy oil, suspect air ingress.
Gear Pump Overheating and Loss of Power When Hot
Heat and internal leakage feed each other. As oil temperature rises, viscosity falls. Thinner oil slips past the clearances more easily, so volumetric efficiency drops and more of the pump’s energy turns into heat instead of flow.
That extra heat thins the oil further. The loop explains why a pump can hold pressure cold and lose it after an hour of running.
| Symptom | Likely cause | Field check |
|---|---|---|
| Casing hot within seconds of loading | Genuine internal fault, excessive slip, or binding | Compare against a known-good unit; run the slip test |
| Hot after sustained running | System-side restriction or continuous relief bypass | Check the return line and filter; verify relief setting and duty |
| Hot with foamy oil | Aeration | Trace the suction-side air leak |
| Hot and weak only when hot | Wear-related internal slip | Slip test at full operating temperature |
| Hot with slow, laboured functions | Fluid too thin for the duty or badly degraded | Check viscosity and oil condition; confirm the correct ISO grade |
Casing temperature should stay below roughly 60°C (140°F). System-side heat sources are just as common as pump wear. A blocked return line or an undersized outlet pipe raises fluid velocity above about 8 m/s, and one documented case saw pump temperature climb from 60°C to 90°C in 30 minutes from an undersized outlet alone.
Continuous relief bypass dumps the pump’s output across the valve as heat. System pressure above roughly 20% of rated can lift oil temperature by more than 15°C through shear.
One warning worth repeating: don’t raise engine or shaft rpm to chase lost flow. Higher rpm increases slip, heat, and oil degradation, and it hides the fault instead of fixing it. For the preventive side of temperature and oil condition, our gear pump maintenance schedule covers oil change intervals, cleanliness targets, and wear limits.
Internal Leakage: The Flow-Loss (Slip) Test

This is the step that settles the wear question in gear pump troubleshooting, and it’s the one most guides skip. Internal leakage, or slip, is oil that escapes backward through the pump’s internal clearances instead of leaving through the outlet. Pump-repair literature attributes roughly 50% to 70% of a gear pump’s internal leakage to the gear end-face-to-side-plate path, which is why worn side plates degrade performance so sharply.
The physics fits in one line: slip scales with clearance cubed. Double a clearance gap and leakage rises roughly eightfold. Halve the oil’s viscosity and leakage roughly doubles. That’s why a worn pump holds pressure when the oil is cold and thick, then fades once the oil warms and thins.
Procedure:
- Bring the system to full operating temperature. A cold test will miss wear-related slip.
- Install a flow meter in the outlet line, or use a timed container if the return is accessible and safe.
- Hold rated pressure and rated shaft speed, and record the delivered flow.
- Compare the measured flow against the theoretical flow for that displacement and shaft speed.
- Calculate the loss as a percentage. Flow loss of 10% to 15% from baseline means investigate; 20% or more confirms the pump needs a rebuild or replacement.
- Read casing temperature at the same time. A pump that heats within seconds under load is confirming internal trouble.
The benchmark worth remembering comes from Oberdorfer’s pump inspection guide: just 0.005 to 0.015 in (0.13 to 0.38 mm) of wear produces 30% to 40% output loss. A pump can look almost untouched and still be delivering two-thirds of its rated flow.
No flow meter? Use the heat test. Hold the system at working pressure and watch the casing. A genuinely faulty gear pump will heat noticeably within seconds; a healthy one won’t.
If a known-good unit is available on the same machine, run the comparison side by side. It’s a coarse test, but it separates the pump from the system in minutes.
If the pump has to come off the machine, the clearance-measurement route (feeler gauge at the gear end face, dial indicator on bearing play) is covered in our guide to gear pump wear limits and clearances.
External Leakage: Gear Pump Leaking at Seals, Joints, and Ports
A gear pump leaking at the shaft seal, a housing joint, or a port fitting is usually easy to see and easy to fix. The location, though, tells you something about the cause. A weeping shaft seal is often a symptom of misalignment or overpressure rather than a worn seal itself.
| Leak location | Likely cause | Field fix |
|---|---|---|
| Shaft seal | Worn lip seal, misalignment, wrong rotation direction, overpressure | Correct the rotation and alignment, verify relief setting, replace the seal |
| Housing or cover joint | Aged gasket, overpressure, bulged cover | Replace the gasket at the correct thickness, verify the relief setting |
| Ports and fittings | Loose or failed fitting seal | Tighten to specification and replace the seal or O-ring |
| Foaming in the reservoir | Suction-side leak or low oil level | Find and seal the air path; don’t just top up |
Gasket thickness is a detail people get wrong. Too thin and the gears bind; too thick and the extra clearance becomes a slip path. Always use the correct part for the pump.
Diagnostic Benchmarks: Quick-Reference Table
Keep these values as a field reference for gear pump troubleshooting. Every figure is an OEM-reference value, not a universal specification. Confirm the limit against the manual for your specific pump before you act on it.
| Parameter | Reference value | Notes |
|---|---|---|
| Inlet pressure | 0.8 to 3.0 bar absolute | 0.6 bar minimum at cold start |
| Relief valve full-bypass setting | About 25% above maximum anticipated discharge | Confirm against the OEM setting |
| Flow loss from baseline | 10% to 15% investigate; 20% or more rebuild | Measured at operating temperature |
| Wear-to-loss ratio | 0.005 to 0.015 in (0.13 to 0.38 mm) equals 30% to 40% loss | End-face and side-plate wear |
| Gear end-face (axial) clearance | Replace if above about 0.08 mm | Feeler-gauge check with the pump off the machine |
| Bearing radial play | Replace if above about 0.10 mm | Dial-indicator check |
| Volumetric efficiency | Floor around 80% | High-pressure pumps target above 92% |
| Casing temperature | Below 60°C (140°F) | Check under sustained load |
| Return filtration | 10 to 25 micron | Inlet circuit below 60 micron |
| Suction strainer | 100 to 200 mesh | Inspect and clean on the weekly cycle |
| Fluid cleanliness target | ISO 4406 18/16/13 or better | New bulk oil often arrives at 21/19/16 |
| Oil viscosity grade | ISO VG 32 to 46 | 10 to 68 cSt at operating temperature |
| Wear particles in oil analysis | Above 500 ppm | Warrants shutdown inspection |
Need a baseline before you test? If you don’t have the original flow rating for your pump, talk to an engineer, and we’ll confirm the theoretical flow and pressure rating from the model, so your slip-test result has something accurate to compare against.
Filtration deserves its own note. Particles that look invisible are abrasive at the scale of a gear pump’s clearances, and the ISO 4406 code is the standard way to measure them.
Repair vs Replace: Decision Rules
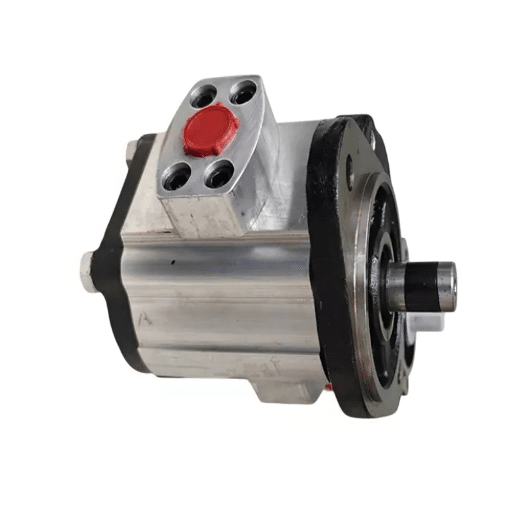
Once gear pump troubleshooting has given you a flow-loss number and a look inside the pump, the decision is usually clear.
Rebuild when:
- The shaft seal weeps but pressure and flow are within specification.
- Side plates and end faces show only light scoring that can be polished.
- The bearings are noisy, but the bores and housing are sound.
- A factory-matched repair kit is available for the model.
- The housing, bores, and shaft are all intact and within tolerance.
Replace when:
- The housing is cracked, bulged, or the bores are deeply scored.
- The shaft is worn beyond tolerance, since shaft replacement approaches the cost of a new pump.
- The drive pin is sheared, and the shaft is damaged.
- The pump has already been rebuilt and failed again.
- The pump lost prime permanently after a dry run.
- The rebuild cost exceeds roughly 50% of a new pump.
As a cost frame, a factory rebuild typically runs about 30% to 50% of the price of a new pump. For many small industrial gear pumps, the arithmetic still favours replacement, especially once you count the downtime of a second teardown if the rebuild doesn’t hold.
Whatever you choose, fix the root cause first. If contamination, starvation, or a misadjusted relief valve caused the original failure, it’ll destroy the replacement just as quickly. That’s the lesson of Dean’s loader, learned twice at full price.
When replacement is the answer, matching the pump correctly matters as much as the diagnosis: displacement, pressure rating, shaft type, mounting flange, port type, and rotation direction all have to line up. LOYAL INDUSTRIAL supplies tested, factory-direct gear pumps and seal kits with global export support, so you can replace a failed unit without a premium-brand markup.
Gear Pump Troubleshooting FAQ
Why is my gear pump not building pressure?
In gear pump troubleshooting, the most common causes are lost prime, a low oil level, a suction leak, a relief valve stuck open, or internal wear. Check the suction path and the relief setting before condemning the pump. If pressure is correct when cold and weak when hot, the cause is internal slip from wear.
What causes a gear pump to lose pressure when it gets hot?
Heat thins the oil, and thinner oil slips past worn clearances more easily. As internal leakage rises, volumetric efficiency falls, so the pump delivers less flow and the system loses pressure. This is why a wear test must be run at full operating temperature.
What does gear pump cavitation sound like?
Cavitation sounds like gravel or marbles rattling inside the pump, a sharp, irregular crackle that worsens as the oil warms. It comes from oil vapour forming and collapsing at low inlet pressure. A softer, continuous hiss with foamy oil points to aeration instead.
What is the difference between cavitation and aeration?
Cavitation is oil vapour forming inside the pump because the inlet pressure is too low. Aeration is outside air being drawn into the system through a leaking joint or low oil level. Cavitation erodes the pump over time; aeration mostly robs flow and creates foam.
How do I test a gear pump for internal leakage?
Run the system to operating temperature, hold rated pressure and speed with a flow meter in the outlet, and compare delivered flow against the theoretical flow for that displacement and shaft speed. A loss of 10% to 15% means investigate; 20% or more confirms rebuild or replacement.
Why is my hydraulic gear pump so noisy?
Match the sound to the cause. Gravel or hammering means cavitation. A continuous hiss means aeration. Rhythmic clatter that tracks rpm means gear or bearing wear. A low rumble means bearing failure, and a growl with vibration usually means coupling misalignment.
Why is my gear pump overheating?
Common causes are a restricted suction strainer, low oil level, internal wear creating slip and friction, contaminated or wrong-viscosity oil, and system-side restrictions such as a blocked return line or continuous relief bypass. Casing temperature should stay below 60°C (140°F).
What causes foamy hydraulic oil?
Foam is almost always air entrainment: a leaking suction joint, a low reservoir level, a return line discharging above the oil surface, or the wrong oil. Find and seal the air path rather than simply topping up the reservoir, which hides the fault without fixing it.
How do you know if a gear pump is bad?
Three measurements tell you. Flow loss above 20% of baseline at operating temperature, casing temperature climbing within seconds under load, and a pressure reading that’s correct cold but fades when hot. Wear of 0.005 to 0.015 in alone can cost 30% to 40% of output.
When should a gear pump be rebuilt instead of replaced?
Rebuild when the housing, bores, and shaft are sound and a factory-matched kit is available. Replace when the housing is cracked or bulged, the bores are deeply scored, the shaft is out of tolerance, or a previous rebuild has already failed.
Gear Pump Troubleshooting: Diagnose First, Then Buy
Gear pump troubleshooting comes down to a short, disciplined list.
- Work the sequence in order. Rotation, fluid, suction, outlet pressure, then the slip test. Most “worn pump” verdicts die at the suction or pressure step.
- Measure flow, not just pressure. A gear pump’s health lives in its volumetric efficiency, and a flow-loss number at operating temperature is the only honest wear test.
- Separate cavitation from aeration. They sound similar and have completely different fixes. The wrong diagnosis wastes a pump.
- Treat heat as a loop. Hot oil slips; slipping oil makes heat. Fix the viscosity and the restriction, not just the symptom.
- Fix the cause before you buy. Contamination, starvation, and relief faults kill replacements too. That’s what happened to Dean’s loader, twice.
If gear pump troubleshooting has led you to a replacement rather than a repair, get a replacement pump recommendation or send us your nameplate data and duty details. Our engineers will recommend the right gear pump for the machine, not just the closest match in a catalogue.
For the complete family overview, including types, specifications, and selection criteria, start with our hydraulic gear pump selection guide.