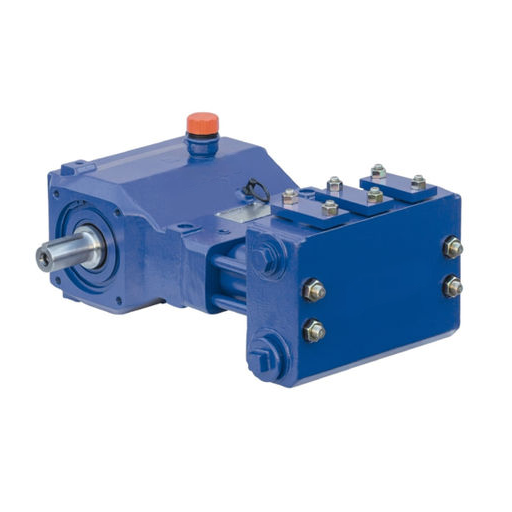
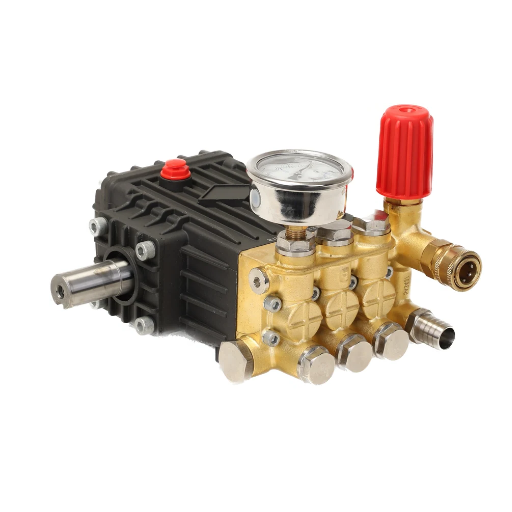
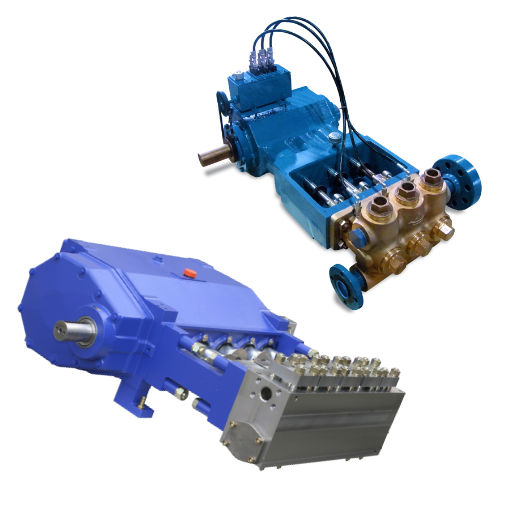
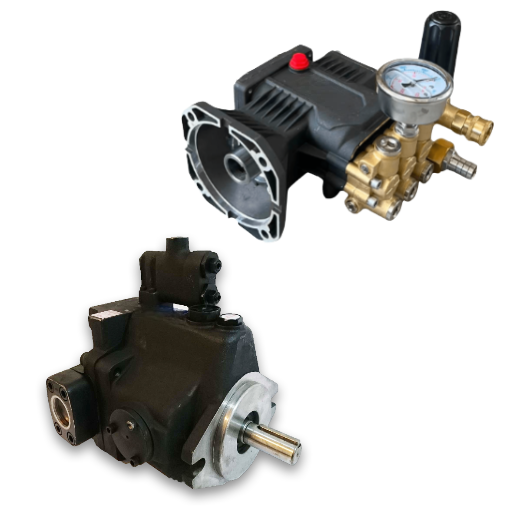
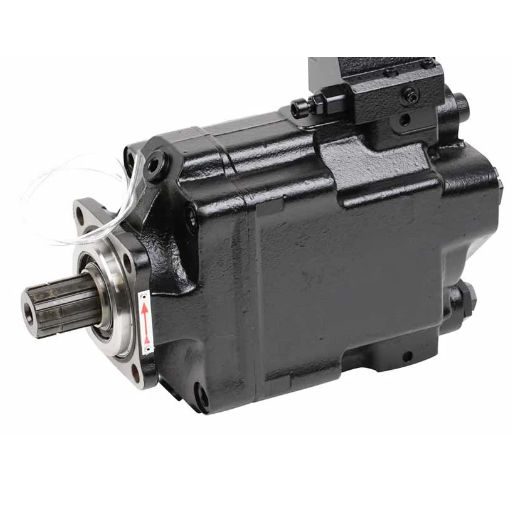
Ray kept a paper log for one triplex pump at a six-bay car wash. Every Monday, the packing gland needed another quarter turn. By week nine, the gland nut had bottomed out, the plunger was scored, and a routine adjustment had become a new plunger, a full packing set, and eight hours of lost washing.
That pattern is common. It explains why plunger pump maintenance matters more than most operators expect. Wear parts rarely fail without warning. They announce themselves for hundreds of hours: a drip that grows, a pressure gauge that flickers, crankcase oil that turns milky.
This article is the program that catches those signals early. You’ll get a duty-adjusted service schedule, the rules for adjusting packing without destroying it, inspection criteria for plungers and valves, crankcase oil intervals and water prevention, inlet checks, storage procedures, and a restart checklist.
If you need the architecture first, the complete guide to plunger pumps covers pump types, fluid-end design, and installation. This article assumes the pump is installed, commissioned, and running. Triplex plunger pump maintenance follows the same program; the plunger count changes the number of service points, not the logic.
What Plunger Pump Maintenance Covers
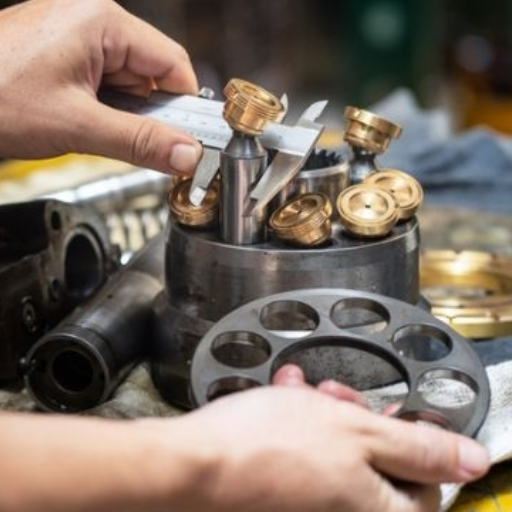
Plunger pump maintenance covers two zones. The power end carries the crankcase oil, bearings, crosshead, connecting rods, and oil seals. The fluid end carries the plungers, packing, valves, seats, and manifold. A complete program combines scheduled service with condition checks on the wear parts that set pump life.
One principle separates plunger pumps from most rotating equipment: the packing is a controlled-leak seal. Packing rings are compressed by the gland against a moving plunger.
The seal is dynamic, so a slight weep is normal. It lubricates and cools the packing. Zero leakage usually means the gland is over-tightened. That runs the packing dry and scores the plunger.
The second principle is duty. Plunger pumps are almost always single-acting, so each plunger delivers one pulse per revolution. Wear tracks hours and speed more closely than calendar time. That makes an hour meter the primary service clock, with the calendar reserved for oil and for pumps that sit idle between jobs.
Plunger Pump Maintenance Schedule: Daily to Annual
A working schedule runs on three clocks: calendar, operating hours, and condition. Hours drive most tasks. Calendar catches oil aging and low-hour pumps.
Condition triggers override both. A pump that is leaking, knocking, or losing pressure gets attention now, not at the next interval.
| Interval | Task | Acceptance or trigger | Notes |
|---|---|---|---|
| Daily, pre-start | Crankcase oil level and condition | Level in sight glass; oil clear | Milky oil means water ingress |
| Daily | Leak check at packing, seals, fittings | Slow drip only, no steady stream | A stream means adjust or repack |
| Daily | Noise, vibration, pressure, flow | Steady and near baseline | Any new knock needs diagnosis |
| Daily | Inlet strainer and suction supply | Clean, positive inlet pressure | Never run dry |
| Weekly | Belts, coupling, hoses, clamps | Correct tension, no cracks or chafe | Vibration loosens fittings |
| Weekly | Clean strainers; check lubrication (if fitted) | Free flow; every plunger oiled | |
| 50 hours | First crankcase oil change | Drain while warm | Run-in oil carries break-in debris |
| 500 hours or 3 months | Oil change; plunger and packing inspection | See wear criteria below | Whichever comes first; 300 hours with non-specified oil |
| 1,500 hours | Seal and packing service window opens | Leak controllable; plunger surface sound | If unworn, recheck at 2,000 hours, then every 500 |
| 3,000 to 16,000 hours | Valve kit | Pressure and flow steady | Often every other seal change |
| 3,000 to 5,000 hours | Planned overhaul: bearings, crosshead, seals | Duty-dependent | Schedule before failure, not after |
These intervals follow common OEM service literature. Treat this table as the base plunger pump maintenance checklist, then adjust it to your duty. Your pump manual governs oil grade, torque, clearances, and final intervals.
Duty modifies everything. Abrasive or slurry service can cut intervals by 30 to 40 percent. High ambient or fluid temperature shortens seal and oil life.
Continuous 24/7 duty needs the continuous-duty rating and closer oil monitoring, a distinction reflected in API 674. Intermittent cleaning duty still follows calendar checks, even when the hour meter barely moves.
Packing and Gland Maintenance: Adjust, Don’t Over-Tighten
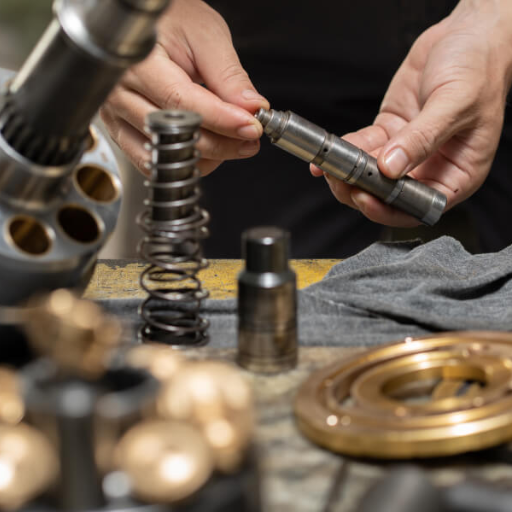
The stuffing box holds a stack of packing rings around the plunger. The gland compresses that stack. The rings seal against the plunger through a thin film of leakage, which is why the gland should be snug, not cranked down. Plunger pump packing adjustment is a small, deliberate correction, not a weekly tightening ritual.
Adjust in small steps:
- Isolate the pump, relieve discharge pressure, and apply lockout/tagout. Never adjust packing under pressure.
- Loosen the gland nuts evenly until the gland is free.
- Tighten until snug, then add about 1/8 turn. If you prefer finer control, work in 1/16 to 1/8 turn increments and observe.
- Mark the gland nut and fluid end so creep and back-off are visible later.
- Run the pump briefly and check gland temperature and leak rate. Stop and readjust if the gland runs hot or the leak streams.
Typical axial compression cited in service literature is about 0.025 to 0.040 in (0.6 to 1.0 mm), roughly a quarter turn of a typical gland nut. Confirm the figure for your model.
What counts as acceptable leakage? A few drops per minute can be normal. A steady stream, overheating, or leakage that will not respond to adjustment means it is time to repack.
When the gland nuts cannot be taken up any farther, replacement is due. Continuing to tighten past that point loads the plunger and packing unevenly and accelerates both.
After repacking, run at reduced speed and pressure, double the lubricator rate for the first 24 hours where a lubricator is fitted, and re-check the gland after two to three hours.
Common causes of packing failure are worth memorizing: over-tightening, under-tightening, dry running, abrasives, the wrong packing type, a scored plunger, misalignment, and a worn stuffing-box bushing. Over-tightening and a scored plunger usually travel together, because each one worsens the other.
Plunger Inspection and Care
The plunger is the wear surface the packing rides on. Plunger inspection belongs on the same 500-hour cycle as the oil change. Ceramic plungers are brittle. Never strike one with a hammer, pry against it with a metal tool, or drop it on concrete.
Inspect each plunger for scoring, scratches, pitting, corrosion, coating wear, chips, or cracks. Check for a dull finish where the packing rides. Check alignment and concentricity too. A misaligned plunger wears packing on one side and can fracture under load.
| Finding | Indicative limit | Action |
|---|---|---|
| Scratches or grooves | Beyond about 0.02 mm | Replace |
| Diameter loss | Beyond about 0.05 mm | Replace |
| Pitting, chips, cracks | Visible damage beyond about 0.1 mm, or any crack | Replace |
| Surface finish | Rougher than about Ra 0.2 µm | Investigate, polish, or replace |
| Misalignment | On the order of 0.3 degrees | Correct alignment before reuse |
These figures are indicative criteria used in field service. They are useful for triage, but your OEM manual defines rejection limits for your pump.
Any time a plunger is removed, replace the slinger washer, O-ring, and top plunger washer. Clean thread locker residue from the threads and torque the retainer to the OEM specification. AR North America states this requirement directly in its plunger servicing instructions. Reusing cushion washers invites breakage and leaks.
Root causes matter more than the damage itself. Abrasives score the surface. Cavitation pits it.
Chemical attack corrodes it. Thermal shock cracks ceramics. Misalignment and dry running destroy the packing first and the plunger second.
If you replace a plunger without fixing the cause, the new one will fail on the same schedule. The plunger and packing arrangement is easier to reason about once you see how the fluid end is stacked.
Valve and Seat Service
Inlet and discharge check valves control filling and delivery. When they wear, pressure fluctuates, flow drops, and the pump may knock or run rough. A valve that leaks back reduces volumetric efficiency, so the pump works harder for the same output.
Inspect valve balls or plates for pitting, seats for grooves and asymmetric wear, springs for free length, O-rings for damage, and the valve area for scale or debris. Replace a spring that has shortened to about 85 percent of its free length or less. That figure is a common service reference; confirm it for your model.
Follow four rules. Replace the valve stack as a set rather than mixing old and new parts. Do not combine valves, seats, or inserts from different manufacturers.
Install a new O-ring where the design specifies one. Clean and lightly polish the seat bore before assembly. Torque the valve covers to specification.
Frequency depends on service. Dirty or abrasive duty may need inspection and cleaning at 200 to 300 hours. Valve kits commonly last 3,000 to 16,000 hours and are often replaced at every other seal change. Some OEMs call for annual spring replacement in severe duty, whether or not the spring looks worn.
Safety is non-negotiable here. Bleed discharge pressure before opening any valve cover. Never open a cover with pressure in the cylinder, and never assume a gauge reading of zero means the line is empty.
Crankcase Lubrication: Oil Change Intervals and Water Ingress
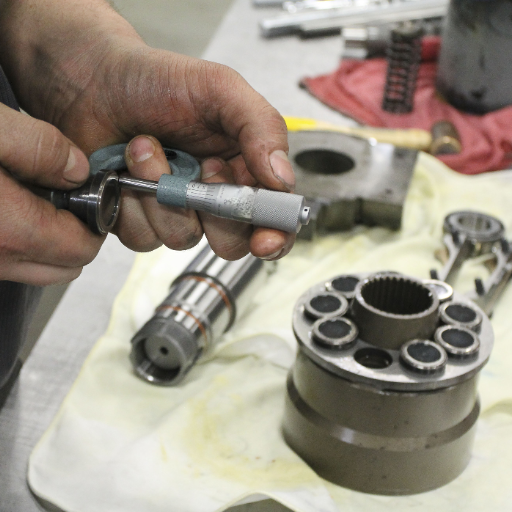
Crankcase oil lubricates bearings and the crosshead, carries heat away, suspends contaminants, and protects against corrosion. It is the cheapest maintenance item on the pump and the most expensive one to neglect.
Set the plunger pump oil change interval at about 50 hours for the first service, then every 500 hours or three months, whichever comes first. If you use an oil other than the OEM-specified ISO 68 grade, some manufacturers shorten the interval to about 300 hours. Follow the manual for grade and quantity.
Check daily: level at the sight glass, color and clarity, smell, and leaks at the crankshaft seals, drain plug, gauge, and filler cap. Do not overfill, because foam and heat follow.
Milky or emulsified oil means water is inside. The most common path is packing leakage traveling along the plunger rod past a worn crankcase oil seal. Condensation is the second most common source.
Direct spray from washdown or a leaking fitting can do it too.
Priya, a reliability engineer at a 20,000 m³/day reverse-osmosis plant, caught exactly this at a 500-hour oil change. One of five quintuplex feed pumps had oil the color of coffee with milk.
She traced it to a worn crankcase oil seal fed by a packing weep, replaced the seal and packing, flushed the crankcase, and refilled. The bearings survived because the oil was checked on schedule. Two more months and the repair would have included a crankshaft.
Fix the source before you change the oil. Otherwise, the new charge will emulsify the same way.
Keep the breather clean so the crankcase does not pressurize and push oil past the seals. Replace leaking oil seals promptly. Do not run the pump with a damaged breather or a missing dipstick.
Where a separate plunger lubrication system is fitted, confirm every plunger is being oiled, blow out clogged lube ports, use clean filtered oil, and double the rate for 24 hours after repacking. NOV specifies the run-in rate in its multiplex plunger pump manual.
Oil analysis is optional but useful. Sample at each oil change and trend water content, wear metals, and viscosity. Two or three samples establish a baseline, and a rising trend gives you a reason to inspect before a failure.
Inlet Conditions, Filtration and Operating Discipline
Most preventable plunger pump damage starts upstream. Never run the pump dry. Dry running overheats packing, seals, and plungers within minutes, and the damage is often permanent.
Plunger pumps are not self-priming. They need flooded suction or a booster that supplies positive inlet pressure.
Verify the NPSH margin, commonly at least 1 m. Account for acceleration head, because the pulsating flow in the suction line accelerates and decelerates every stroke.
Filtration commonly runs 50 to 100 µm, finer where the fluid or the seals demand it. Clean strainers on a daily or weekly schedule. Above about 130 °F (54 °C), CAT Pumps calls for roughly 0.5 psi of additional inlet pressure per degree above 130 °F, so hot fluid needs a higher suction head.
Protect the discharge side too. Set the relief valve at or below the pump rating, never deadhead the pump, open discharge valves before start, and check pulsation-dampener precharge against the OEM figure, commonly around 60 to 70 percent of operating pressure. Never charge a dampener with oxygen.
Flush the pump after abrasive or chemical duty, and avoid closed-loop operation at high temperature or ultra-high pressure unless the pump is designed for it. If inlet problems keep recurring, the duty point may be wrong rather than the maintenance schedule. Plunger pump sizing covers NPSH, flooded-inlet checks, and suction-line design in full.
Storage, Winterization and Restart
Short stops need little more than a clean flush and freeze protection. Long lay-ups need a plan, because water left in a fluid end will find every crevice when it freezes.
For winterization or long storage, drain all water, circulate a roughly 50 percent RV or non-toxic biodegradable antifreeze solution, cap the ports, and store the pump cool and dry. Flush with fresh water before returning it to service.
Luis, a seasonal irrigation contractor, learned this the expensive way. He left a triplex pump with water in the manifold over a hard winter. A freeze crack opened across the manifold, and the spring start-up cost him a replacement part and two days of missed jobs. Draining and a jug of RV antifreeze would have cost less than the fuel to drive out.
Before restart, confirm oil level and condition. Inspect for leaks and loose fittings. Verify the suction is flooded, open the discharge, and run at low speed and pressure.
Check packing weep and gland temperature. Confirm pressure and flow against baseline, then re-check after the run-in period. Record the date, hours, parts replaced, oil added, and findings. That log is what turns a calendar into a condition-based program.
Rebuild vs Replace: Spare Parts and Sourcing
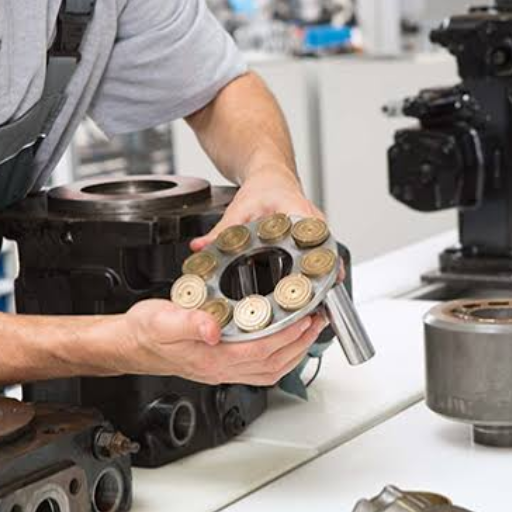
Keep critical spares on hand: packing sets, plungers, slinger washers, O-rings, valve kits with balls or plates, seats, springs, cages, gaskets, crankcase oil seals, and relief-valve parts. A pump that waits three weeks for a packing set has an availability problem, not just a maintenance problem.
Rebuild when damage is limited to wear parts and the housing, shaft, and crosshead are sound. Replace when you find structural damage: a cracked manifold or housing, a bent shaft, or seized bearings.
Also replace when contamination damage is widespread, failures repeat, or the model is obsolete with poor parts availability. Include downtime and warranty in the comparison. The cheaper option on paper is not always cheaper in service.
| Rebuild | Replace |
|---|---|
| Wear parts only: packing, plungers, valves, seals | Cracked manifold, cracked housing, bent shaft, seized bearings |
| Housing and power end sound | Widespread contamination damage |
| Parts available within your downtime window | Obsolete model, poor parts availability |
| Failure is isolated and understood | Repeated failures with no resolved root cause |
Consumables sold as interchangeable deserve scrutiny. Verify plunger diameter and stroke, packing style, valve seat type, and manifold port configuration. A matching footprint alone does not make a packing set or valve kit correct.
Ask suppliers for material certificates, dimensional verification, and leak or performance test records. Confirm lead times before committing to a pump family.
Configuration also sets your service workload. A quintuplex has five packing and plunger points to a triplex’s three, which is one reason continuous-duty plants weigh triplex versus quintuplex service points so carefully.
Need parts before the next outage? Request a maintenance parts list and service interval sheet for your pump model from LOYAL INDUSTRIAL PTE. LTD.
Frequently Asked Questions
How often should a plunger pump be serviced?
Check oil, leaks, noise, and inlet supply daily. Change crankcase oil at 50 hours, then every 500 hours or three months. Inspect plungers and packing at each oil change, open the packing service window around 1,500 hours, and plan valve and bearing service on the hour ranges in your OEM manual.
How often should I change the oil in a plunger pump?
First change at about 50 hours. After that, every 500 hours or three months, whichever comes first. Some manufacturers specify 300 hours when the oil is not the OEM-recommended ISO 68 grade.
How tight should plunger pump packing be?
Snug plus about 1/8 turn, adjusted in small increments. The packing needs a slight weep to lubricate and cool it. If the gland runs hot or the leak streams, back off. If the gland is bottomed out, repack instead of tightening further.
Is a leaking plunger pump packing normal?
A slow drip can be normal and is part of the controlled-leak design. A steady stream, overheating, or leakage that will not adjust down is not normal and calls for repacking.
How do I know if a plunger is worn?
Look for scoring, scratches, pitting, chips, corrosion, and diameter loss. Indicative field limits include scratches beyond about 0.02 mm, diameter loss beyond about 0.05 mm, and surface finish rougher than about Ra 0.2 µm. Confirm limits against your OEM manual.
Why is there water in my pump crankcase?
Packing leakage traveling along the plunger rod past a worn oil seal is the most common cause. Condensation is second. Fix the seal and packing, then flush and refill the crankcase.
Can a plunger pump run dry?
No. Plunger pumps do not self-prime and do not tolerate dry running. Even brief dry operation overheats packing and can score plungers or crack ceramic components.
How long do plunger pump seals and valves last?
Seal and packing kits commonly run 1,500 to 8,000 hours, and valve kits 3,000 to 16,000 hours, often at every other seal change. Abrasive, hot, or continuous duty shortens both ranges.
Conclusion
Plunger pump maintenance is a program, not a repair skill. Run the daily checks, keep the hour meter honest, change oil at 50 hours and then every 500 hours or three months, and treat packing as a controlled-leak seal that gets adjusted in small increments.
Inspect plungers and valves against real criteria, protect the inlet, keep water out of the crankcase, and winterize before the first freeze. Log what you find. The log is what tells you whether the next failure is a surprise or a scheduled event.
If you would rather start from a parts list than from a blank page, our engineers can match consumables and service intervals to your pump model and duty. Request a maintenance parts list or an OEM service interval sheet from LOYAL INDUSTRIAL PTE. LTD., and we’ll help you keep the pump on its schedule instead of on its back.