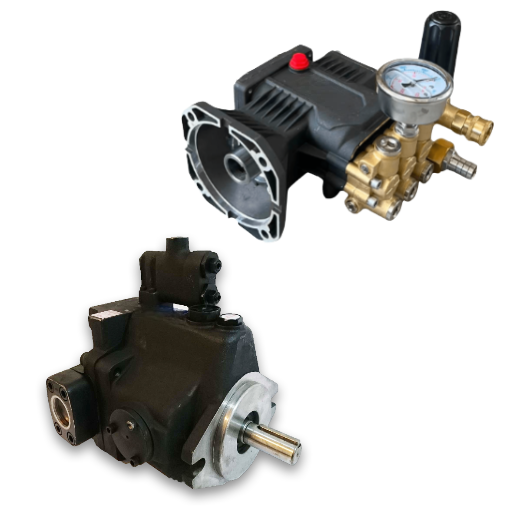
At 6:40 on a Monday, Elena watched a triplex pressure-washer pump fall from 3,000 psi to 900 psi between two cars. The belt was tight, and the packing dripped normally. Her first instinct was to order a seal kit.
Good plunger pump troubleshooting would have sent her to the unloader first. A stuck seat was the fault, and the bypass test took four minutes.
If you maintain process plunger pumps, you’ve probably been told to replace the packing when pressure drops. That advice skips the diagnosis. This guide gives you a six-step workflow, symptom tables with field thresholds, and a repair-versus-replace rule. The operators in the scenarios below are composites drawn from common service patterns.
It covers process plunger pumps used for pressure washing, waterjet, reverse osmosis, chemical dosing, and injection, including high-pressure plunger pump troubleshooting. The phrase hydraulic plunger pump often means a hydraulic piston pump; for that family, see hydraulic axial piston pumps. The complete guide to plunger pumps covers the architecture.
Need a second opinion before you buy parts? Send the symptom, duty point, fluid, and photos to our engineers for a diagnosis or replacement recommendation. Contact for industrial solution consultation.
Start Here: Plunger Pump Troubleshooting in Six Steps
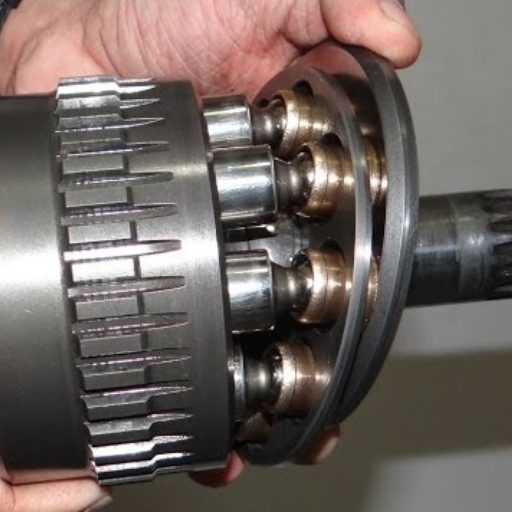
Before you touch a fitting, stop the drive, apply lockout/tagout, and relieve discharge and suction pressure. Isolate chemical feed and wear the required PPE. Treat every pinhole leak as a high-pressure injection hazard: skin penetration is possible at 100 psi.
- Confirm the demand side and gauge. Check the nozzle, relief, unloader, discharge valves, and belt. On pressure-washer duty, run the unloader bypass test with the gun open. If full pressure returns, the pump is not the problem.
- Verify suction and prime. Confirm flooded suction or booster pressure, a clean strainer, sound suction joints, and a primed fluid end. Plunger pumps are not self-priming.
- Characterize the symptom. Note gradual versus sudden loss, hot versus cold behavior, and whether noise follows each stroke or shaft rotation.
- Choose fluid end or power end. Pressure and flow faults point to the fluid end or suction. Knock, heat, oil contamination, and vibration point to the power end or drive.
- Inspect the fluid end. Check valves, seats, packing, plungers, manifold, seals, and adapters.
- Inspect the power end and drive. Check oil, bearings, rods, crossheads, seals, belt tension, and alignment.
The sequence works for any multiplex pump. Triplex plunger pump troubleshooting just means three valve sets, three packing sets, and three plungers to compare.
| What the pump is doing | First branch | Confirm with |
|---|---|---|
| Low or no pressure, smooth running | Demand side or suction | Gauge swap, unloader bypass, inlet pressure |
| Low pressure and erratic flow | Valves, packing, or air ingress | Valve backflow check, packing leak rate |
| Knock timed with each stroke | Power end | Oil condition, rod play, crosshead clearance |
| Knock timed with shaft rotation | Crankshaft or bearing | Oil for metal, bearing preload, cap torque |
| Hot packing | Packing or gland | Gland tension, lubrication, leak rate |
| Screech at the gland | Dry or over-tightened packing | Gland temperature, lubricator output, leak rate |
| Milky oil | Seal or packing leak, or condensation | Oil analysis, seal and packing inspection |
Use the table to choose a branch, then confirm it.
Plunger Pump Troubleshooting: Low Pressure, Supply, or Fluid End?
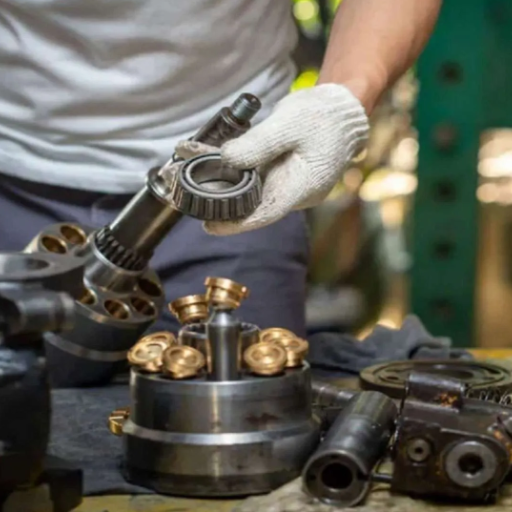
Plunger pump low pressure is the most common reason a pump gets pulled for repair. Split the problem into demand, suction supply, and fluid-end sealing.
Rule Out the Demand Side and the Gauge
Cross-check the gauge before you trust it. A low-reading gauge can send a technician into a healthy pump. Check nozzle size and wear next. A worn nozzle flows more fluid, so the pump cannot reach its old pressure.
Run the unloader or relief bypass test with the spray gun open. A stuck unloader seat, a low relief setting, or a partly closed discharge valve will mimic pump wear. A slipping belt can cause low pressure.
Gradual or Sudden Pressure Loss?
The speed of the failure narrows the cause.
| Pattern | More likely cause | First check |
|---|---|---|
| Gradual over weeks | Worn valves, seats, packing, plungers, or nozzle | Valve backflow, packing leak rate |
| Sudden | Relief stuck open, broken valve or spring, suction loss | Bypass test, inlet pressure, valves |
| Fine cold, weak hot | Internal leakage or thin hot oil | Cold and hot pressure and flow |
| Low only at high flow | Insufficient NPSH or small suction line | NPSHa, inlet vacuum, line size |
Tomas, a technician at a chemical blending plant, saw pressure on a triplex dosing pump fall about 15 percent over two weeks. A worn discharge valve and eroded seat were the cause. A valve kit and seat service restored pressure.
When the Pump Runs but Will Not Build Pressure
Start with air and prime. A loose suction fitting, cracked hose, worn gasket, or dry fluid end stops a plunger pump from building pressure even when every internal part is sound.
Inspect the valves for debris, pitting, a stuck-open plate or ball, a broken spring, and a worn seat. Compare cylinder by cylinder. If one differs, the fault is local to that valve set, plunger, or packing.
A spring compressed to 85% or less of its free length is due for replacement, and two or more failed sets usually justify a plunger pump valve replacement rather than a single swap. New packing will not seal against a scored plunger.
Confirm the inlet limit. Many industrial plunger pumps expect about 60 to 70 psi of positive inlet pressure, while piston pumps often tolerate no more than about 40 psi. A Dayton manual allows less than about 20 ft of water, or 8.5 psi vacuum, and some Pentair models allow less.
Plunger Pump Leaks: Stuffing Box, Manifold, and Crankcase
A plunger pump leaking in service is not automatically a failed pump. The leak location tells you which seal path failed.
Stuffing-Box Leak: Normal Weep or Failure?
A plunger pump packing leak is part of normal operation on a packed design. The rings need a few drops per minute to carry heat away and stay lubricated. A steady stream, a hot gland, or a leak that ignores adjustment means the packing is spent.
Take the gland up in 1/16 to 1/8 turn increments, checking leak rate and gland temperature after each. Service literature commonly cites 0.025 to 0.040 in (0.6 to 1.0 mm) of axial compression; confirm it for your model.
Never adjust packing under pressure. Once the gland is bottomed out, extra torque only distorts the packing stack and side-loads the plunger. Use the step-by-step packing and seal replacement guide instead.
Manifold and Seal Leaks
Manifold leaks usually come from worn packing, worn seals, a cracked or scored plunger, a worn adapter, or washout. Worn low-pressure seals usually mean worn high-pressure seals. Replace both and inspect the plungers. Reject a plunger with scratches deeper than about 0.02 mm, measurable diameter loss beyond about 0.05 mm, or any chip or crack.
Washout points to delayed maintenance, chemical attack, or abrasive duty. Replacing seals without correcting the cause will repeat the failure. High inlet pressure can also damage low-pressure seals, so verify it against the OEM limit.
Oil Leaks and Water in the Plunger Pump Crankcase
External oil leaks come from crankshaft seals, bearing covers, drain plugs, sight glasses, filler caps, overfilling, or excessive rpm. Fix the source before adding oil.
Water in a plunger pump crankcase usually follows the plunger rod inward. A packing weep slips past a tired crankcase oil seal and reaches the sump. Milky oil does not lubricate properly and can damage bearings, rods, and the crankshaft.
Ben, a utility operator at a small reverse-osmosis line, found coffee-colored oil at the 500-hour change. The packing had been weeping, and the crankcase oil seal was worn. He renewed the oil seal and packing, rinsed the sump, and refilled with ISO 68 oil. The bearings survived because he checked the oil on schedule.
Schedule the first oil change near 50 hours, then switch to a 500-hour or three-month cycle. Water contamination is a stop-and-fix condition.
Plunger Pump Noise, Heat, and Pulsation: What the Pump Is Telling You
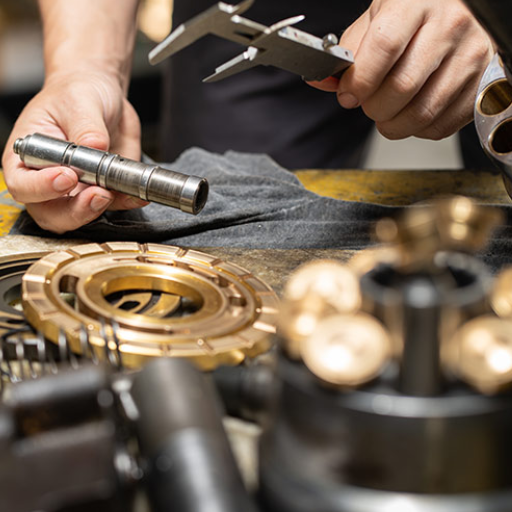
Sound is diagnostic when you note its timing. A knock with each plunger stroke points to the power end; a knock with shaft rotation points to the crankshaft or bearings. Gravel at the suction points to cavitation or air ingress.
Knocking and Mechanical Noise
Stop the pump and inspect the power end before further running. Plunger pump knocking is not a symptom to monitor. Check oil condition, bearing play, rod torque, crosshead clearance, and the plunger-rod attachment.
A knock after a belt or coupling change points to alignment or tension. A knock with metal in the oil needs a rebuild decision.
Suction Noise, Cavitation, and Air Ingress
Plunger pump cavitation happens when vapor bubbles form and collapse against metal. It sounds like gravel in the suction. The cause is insufficient NPSH, high fluid temperature, or a restricted suction line.
Air ingress sounds similar, but the pump may lose prime, and the oil may foam. The fixes differ, so differentiate before you change parts.
| Clue | Cavitation | Air ingress |
|---|---|---|
| Noise | Gravel, worse at high flow | Gurgle, may come and go |
| Inlet gauge | Low pressure or high vacuum | Normal or erratic |
| Prime | Usually holds prime | Often loses prime |
| Fix | Raise NPSHa, cool the fluid | Repair suction joints, reprime |
For reciprocating pumps, include acceleration head when you calculate NPSHa:
NPSHa = p_g + p_z – p_vp – p_f – p_ac
The acceleration head term is p_ac = C1 x L x N x Q x S / D². C1 is 0.066 for a triplex and 0.040 for a quintuplex in ANSI/HI 6.1-6.5. Because diameter is squared, a small increase in bore has a large effect.
Keep NPSHa about 3 to 5 psi above NPSHr, or at least 1 m.
Overheating and Hot Packing
Hot packing comes from an over-tightened gland, poor lubrication, the wrong packing grade, dry running, abrasives, a scored plunger, or misalignment. Plunger pump overheating can come from contaminated oil, worn bearings, excessive bypass, or high fluid temperature.
Use an infrared thermometer on the gland and crankcase. Check oil color, lubricator output, and prime. Some OEMs require a pressurized inlet above about 130 F (54 C) and limit standard elastomers to roughly 160 to 167 F (70 to 75 C).
Do not fix a hot gland by tightening it. If the gland is hot and leaking a stream, repack and inspect the plunger. If the crankcase is hot, stop and inspect the bearings.
Pulsation, Erratic Flow, and Dampener Checks
Plunger pump pulsation is inherent in reciprocating flow. Check NPSH, valves, springs, air ingress, dampener precharge, and pipe resonance.
Set dampener precharge near 60 to 70 percent of mean operating pressure, and confirm the OEM figure. Never charge with oxygen.
A case study found suction valves closing 23 to 30 degrees late and discharge valves about 23 degrees late against an expected closing under 10 degrees. Stiffer springs cut closing to about 8 degrees and resolved the vibration. Treat that as a clue, not a universal specification. Triplex versus quintuplex plunger pumps covers pulsation and dampener sizing.
Plunger Pump Repair vs Replace: Decision Thresholds
Repair versus replace is an economic decision informed by wear pattern. Weigh criticality, spare-pump availability, lead time, downtime cost, and any energy penalty.
| Condition | Usual action | Why |
|---|---|---|
| External leak, good pressure and flow | Repack or reseal | Consumable wear, lowest cost |
| Gradual pressure loss, valves suspect | Valve kit and seat inspection | Valves often wear first |
| Packing, plungers, and valves all worn | Rebuild kit or exchange unit | Piecemeal repair is wasteful |
| Manifold washout or erosion | Replace manifold and seals | Sealing surfaces are lost |
| Bearing or crank damage, metal in oil | Rebuild or replace | Power-end damage can be uneconomic |
| Cracked ceramic plunger or fluid-end part | Replace the part and inspect the cause | Brittle failure needs a root-cause check |
| Repair cost above 50 to 60 percent of a new pump | Replace | First-screen rule, not a mandate |
| Repeated failures in the same duty | Recheck sizing and materials | The pump may be wrong for the application |
Seal kits commonly deliver 1,500 to 8,000 hours and valve kits 3,000 to 16,000, with abrasive duty at the low end. A pump that misses those ranges by a wide margin has a root cause, not a parts problem.
The 50 percent rule is a screen, not an answer. A critical pump with a two-week lead time may justify a rebuild at 60 percent of replacement cost. A standard unit with a spare on the shelf may be cheaper to replace at 40 percent.
If the estimate is close, request a specification review with the duty point, fluid, failure history, and photos. Contact our engineers for a repair-or-replace review. The plunger pump maintenance program keeps a rebuild from becoming urgent.
Prevent Repeat Plunger Pump Failures: Four Root Causes
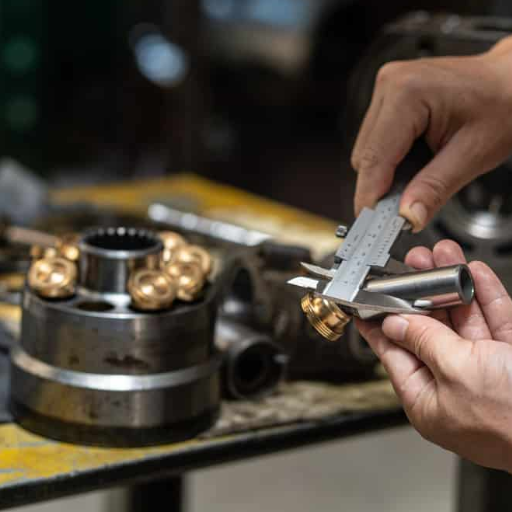
Most repeat failures come from four causes. Fix the cause, or the next repair will follow the same schedule.
- Suction and NPSH problems. Undersized lines, air leaks, high temperature, and clogged strainers starve the fluid end.
- Abrasives and chemistry. Solids score plungers and erode seats. Filter, select compatible materials, and flush after abrasive duty.
- Dry running. A starved fluid end overheats packing and seals and can crack ceramic plungers in minutes.
- Over-tightening and misalignment. Over-tightened glands and misaligned plungers wear packing and plungers together.
The preventive maintenance schedule covers service intervals and storage procedures.
Frequently Asked Questions
Why is my plunger pump not building pressure?
Check the gauge, nozzle, relief, and unloader first. Then verify suction, prime, valves, packing, and plungers. A worn nozzle or stuck unloader can mimic failure.
Why is my plunger pump leaking water at the packing?
A slow drip is part of the design. A steady stream or a hot gland points to worn packing or a scored plunger; repack and inspect the surface.
Why is my plunger pump knocking?
Knock timed with each stroke points to the power end: rod, crosshead, wrist pin, or plunger rod. Knock timed with shaft rotation points to the crankshaft or bearings.
What causes water in a plunger pump crankcase?
A packing weep that finds its way past a failing crankcase seal is the usual path. Renew the seal and packing, rinse the sump, then refill.
How do I adjust plunger pump packing?
Take up the gland in 1/16 to 1/8 turn steps and never adjust it under pressure. Target 0.025 to 0.040 in of compression.
Why is my plunger pump pulsating?
Check insufficient NPSH, worn valves, broken springs, air ingress, dampener precharge, and unsupported discharge piping. Check the dampener and valves first.
What is the difference between cavitation and an air leak?
Cavitation is vapor collapse from insufficient NPSHa and sounds like gravel. An air leak often causes lost prime and foam. Inlet vacuum and a leak test separate them.
How do I know if my plunger pump needs a rebuild?
Pressure loss with several worn fluid-end parts points to a rebuild. Metal in the oil or bearing damage points to the power end.
Will a plunger pump survive running dry?
No. They need a flooded or boosted inlet, and even a short dry spell can score a plunger or crack a ceramic part.
Is a plunger pump the same as a hydraulic piston pump?
No. A process plunger pump moves fluid through a stationary packing seal. A hydraulic piston pump circulates oil in a hydraulic circuit.
Conclusion
Plunger pump troubleshooting starts with isolation, not replacement. Confirm the demand side and gauge, verify suction and prime, then decide whether the fault sits in the fluid end, the power end, or the drive. Treat water in the crankcase as a stop condition.
Most repeat failures trace to suction problems, abrasives, dry running, or over-tightening. When wear is widespread or repair cost passes half the price of a new pump, compare rebuild and replacement on uptime and lead time.
If the diagnosis is still unclear, send the symptom, duty point, fluid, and photos to LOYAL INDUSTRIAL PTE. LTD. Our engineers can identify the cause and recommend the right repair parts or replacement pump. Request a specification review.