Step-by-Step Guide for Replacing the Hydraulic Pump
1Preparation Before Replacement
Before commencing the replacement of your Bobcat 753’s hydraulic pump, one needs to ensure safety as the top concern, gather all necessary tools, and find all needed materials. It is of prime importance to ensure the machine is off, the parking brake is set, and the hydraulic system is depressurized to avoid unnecessary incidents. Always choose to do machining on a suitable platform that is leveled and stable to avoid any inconvenience during the entire process.
Key Preparation Steps:
- Ensure the machine is completely shut off
- Set the parking brake securely
- Depressurize the hydraulic system
- Work on level, stable ground
- Clean the area around the hydraulic components
Also, it is important to have site-specific tooling and necessary replacement parts that vary for each case. Commonly, they consist of spanners, screwdrivers, a tray to catch hydraulic fluid, and a hydraulic pump designed specifically for the Bobcat 753. It is essential to ensure the appropriate use of the parts and equipment to achieve the objective of replacement satisfactorily.
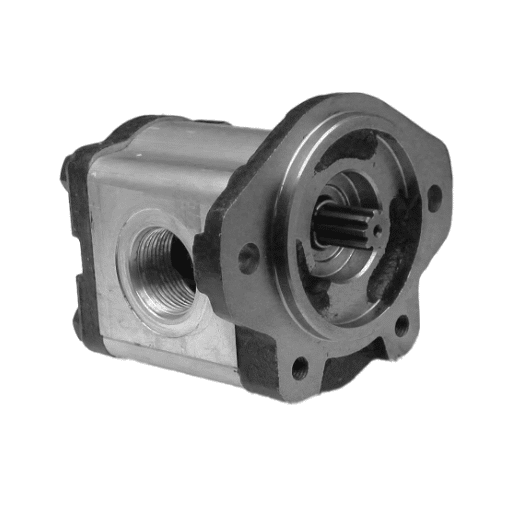
2Removing the Old Pump
When attempting to remove the old pump, it is prudent to start by ensuring the absence of any pressurized liquid in the system. This is fundamental to avoid the occurrence of any incidents or damages while undergoing these activities. Carefully open the drainage valves of the system so that all liquid in it drains out.
Proceed with disconnecting the pump from the hydraulic circuits:
- Start by disconnecting all hydraulic attachments, such as suction and discharge lines
- Keep the surrounding workspace clean to prevent contamination
- Use markers to indicate the orientations of pipes and fittings
- Remove all fastening screws or straps holding the pump
- Adequately support the pump’s weight during removal
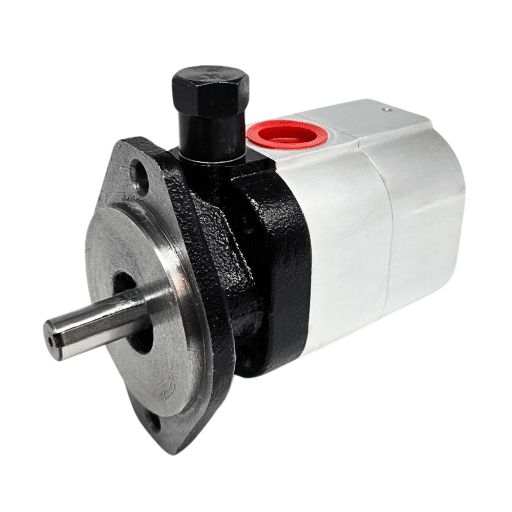
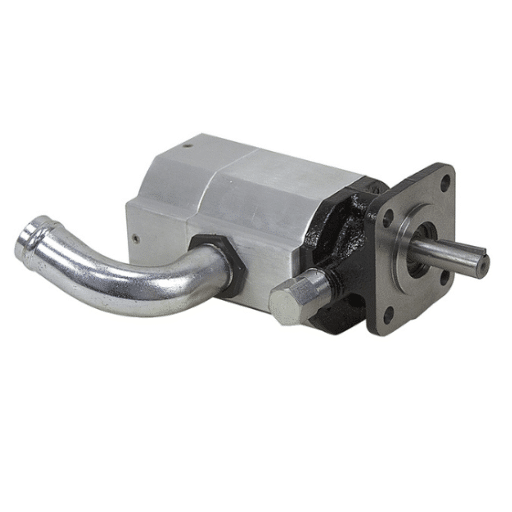
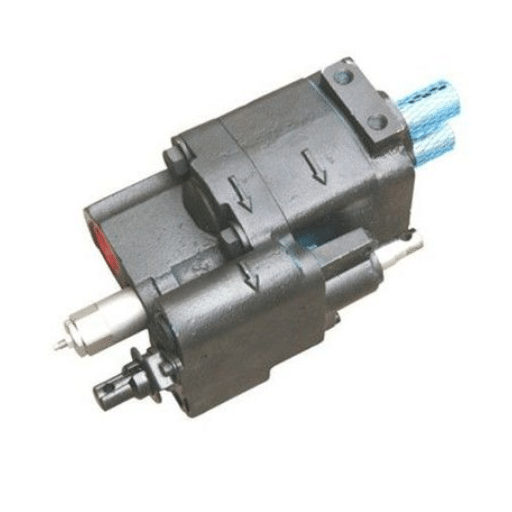
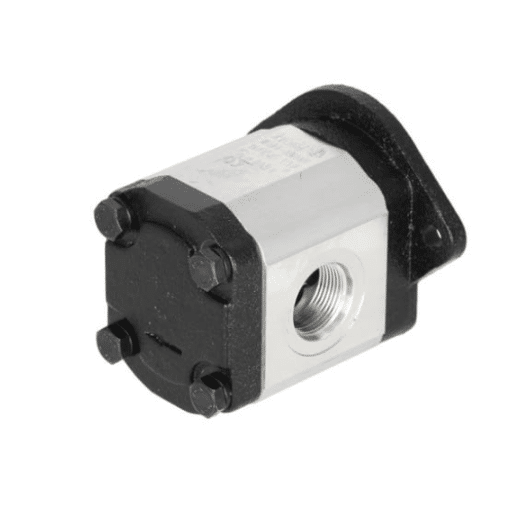
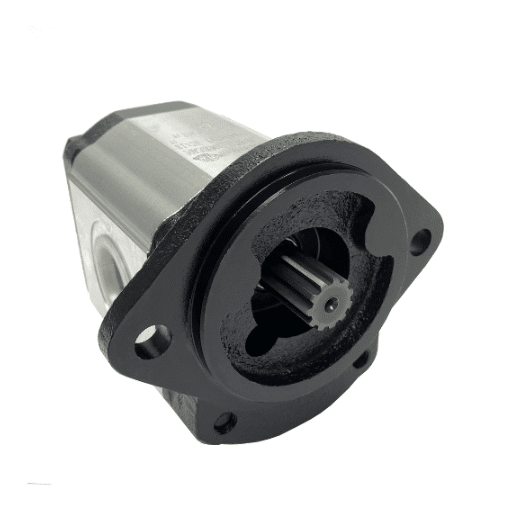
3Installing the New Bobcat Hydraulic Pump
Upon starting with the installation of the brand new Bobcat hydraulic pump, check if it fits the specifications required by your Bobcat attachment. Identify the part number and place the new hydraulic pump next to the old one to verify compatibility.
Installation process:
- Gently position the new pump using appropriate lifting equipment
- Mount the pump properly by bolting it in a crosswise pattern
- Repair or replace every strip or junction if required
- Attach hydraulic piping to the manufacturer’s recommended levels
- Re-fill the hydraulic fluid to the recommended level through a clean funnel
- Perform the bleeding function to remove air from the system
- Test the operation at a low level to inspect for leaks or unusual sounds
Tools and Equipment Required
Essential Tools for the Job
| Tool/Equipment | Purpose |
|---|---|
| Hydraulic Fluid Container | Clean and accurate fluid refill while avoiding contamination |
| Wrenches and Screwdrivers | Essential hand tools for fastening bolts, screws, and components |
| Bleeding Kit | Remove air from the hydraulic system for proper function |
| Inspection Lamp | Reliable lighting to detect leaks or work in dark areas |
| Personal Protection | Gloves and safety goggles for operator protection |
| Torque Wrench | Securing bolts to proper torque specifications |
| Manometer | Measuring system performance and static pressure |
| Cleaning Supplies | Clean room wipers and cleaners for maintaining cleanliness |
Hydraulic Fluids and Supplies
For any hydraulic system to operate at its most effective level, it must have the right combination of hydraulic fluids that perform both as a hydraulic power transition product as well as a lubricant. Consider these factors when selecting hydraulic fluids:
- System pressure levels
- Operating temperatures
- Wear prevention capabilities
- Environmental compatibility
Safety Precautions
Importance of Safety Gear
Safety equipment is critically important to protect workers from hazards present while working on hydraulic systems. Hydraulic systems work under extremely high pressures, which might give way with sudden bursts, leaks, or releases of fluids that could hurt unprotected workers.
Essential Safety Equipment:
- Gloves: Protect from burns or skin irritation from hydraulic fluids
- Safety Goggles: Prevent eye damage from fluid spraying
- Steel-toed Boots: Protection from falling objects
- Hard Hats: Head protection with noise-canceling features
Depressurizing the Hydraulic System
Depressurizing hydraulic systems must be followed by safety steps:
- Confirm power is completely off (engine/motor stopped)
- Isolate all energy sources from operation
- Locate and operate pressure release valves
- Release pressure slowly to prevent bursts or splashes
- Double-check gauges to confirm pressure release
- Ensure fittings and hoses remain firmly attached
Securely Supporting Bobcat Equipment
Critical Support Requirements:
- Place equipment on a firm, flat surface
- Use appropriate jack stands or blocks rated for Bobcat weight
- Apply the parking brake and remove the ignition key
- Double-check stability before beginning work
- Regularly inspect support equipment for wear or damage
Potential Challenges During the Process
Common Issues Encountered
| Challenge | Cause | Prevention/Solution |
|---|---|---|
| Equipment Wear | Repeated use over time | Effective maintenance program and regular inspections |
| Operator Errors | Improper training or unsafe practices | Comprehensive training programs and refresher courses |
| Environmental Issues | Extreme temperatures, humidity, uneven terrain | Proper planning, protective measures, and equipment modifications |
Troubleshooting Tips for Stuck Bolts
Stuck bolts are commonly caused by rust, corrosion, or over-tightening. Here are effective solutions:
- Apply Penetrating Oil: Let high-quality oil sit for 10-15 minutes to break down rust
- Apply Heat: Thermal expansion can loosen stuck bolts (avoid near flammables)
- Use Leverage Tools: Breaker bar or wrench extension for extra torque
- Impact Wrench: Short bursts of high power can break stubborn bonds
- Gentle Tapping: Vibration helps break rust or debris bonds
- Cutting as Last Resort: Use a bolt cutter or a rotary tool carefully
Aligning the New Pump Effectively
Proper alignment prevents early wear and ensures smooth operation:
- Clean mounting surfaces thoroughly
- Check alignment with precision straight edge and feeler gauges
- Use laser alignment tools for enhanced accuracy
- Tighten mounting bolts gradually and alternately
- Confirm shaft parallelism and concentricity
- Monitor vibration levels after installation
Tips for Maintaining the New Pump
Regular Inspections and Maintenance
Maximum service life requires scheduled maintenance and regular inspections:
Inspection Checklist:
- Check for leakages around seals and connections
- Inspect bearings for wear or unusual sounds
- Verify proper alignment and mounting
- Monitor vibration levels regularly
- Document all maintenance activities
Proper Hydraulic Fluid Management
Hydraulic fluid management directly affects system performance and longevity:
- Fluid Selection: Choose the correct viscosity and chemical composition
- Level Monitoring: Regular checks prevent overheating and damage
- Contamination Control: Use quality filters and change per manufacturer’s instructions
- Regular Testing: Sample and test fluid to detect developing problems
- Modern Monitoring: IoT sensors provide real-time data analysis
Cleaning Practices to Avoid Future Issues
Thorough cleaning ensures functionality and longevity:
- Clean all components before assembly using lint-free materials
- Perform routine system flushing per manufacturer recommendations
- Use high-grade, compatible hydraulic fluids for flushing
- Train staff on proper cleaning methods and standards
- Maintain strict cleaning schedules with regular inspections
Frequently Asked Questions (FAQ)
A: Symptoms indicating potential replacement include odd noises from the pump, loss of performance, fluid leakage around the pump, and the Bobcat skid steer refusing to lift or working less efficiently than before.
A: Place the skid steer loader on a solid horizontal platform. Put a drain pan under the hydraulic reservoir, then slowly loosen the drain plug with pliers. Drain the fluid completely before proceeding with replacement.
A: You will need a torque wrench, socket set, pliers, and possibly a gasket scraper. These tools are essential for disassembly, reassembly, and securing the pump properly.
A: Yes, you may consider rebuilding if the pump isn’t severely worn. This includes disassembling, replacing worn components, and reassembling. When performed correctly, rebuilding can extend pump lifespan significantly.
A: After replacement, reconnect all hydraulic line connections, fill the reservoir with hydraulic oil, start the Bobcat, and carefully inspect all connections for fluid leakage. Follow manufacturer’s instructions throughout the process.
A: Proper torque specifications ensure every component is held firmly in place. Using a torque wrench prevents over-tightening (which leads to breakage) or under-tightening (which leads to failures).
A: Yes, aftermarket parts are readily available and can be less expensive than OEM components while maintaining performance and reliability. However, verify compatibility with your specific model number.
A: First, check that no hydraulic line connections came loose during installation. Ensure the pump is seated properly and all components are correctly reassembled. If problems persist, consult the manual or seek professional advice.