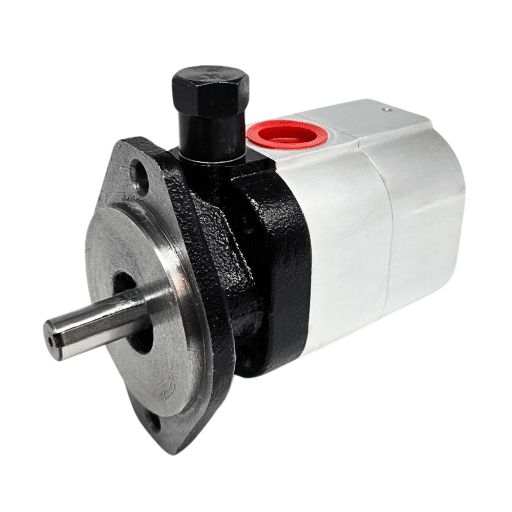
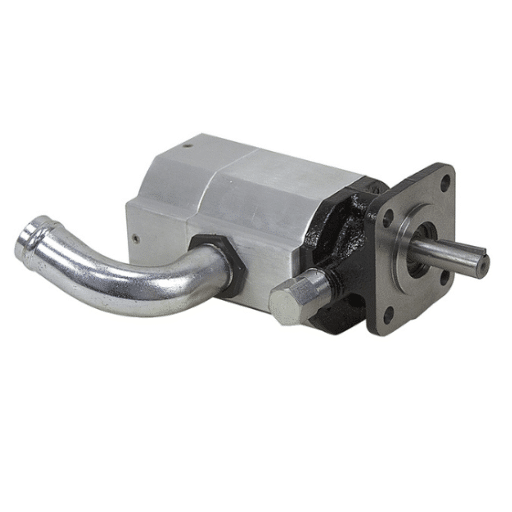
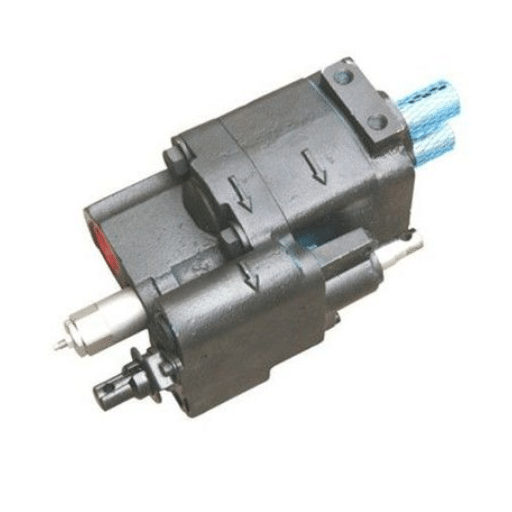
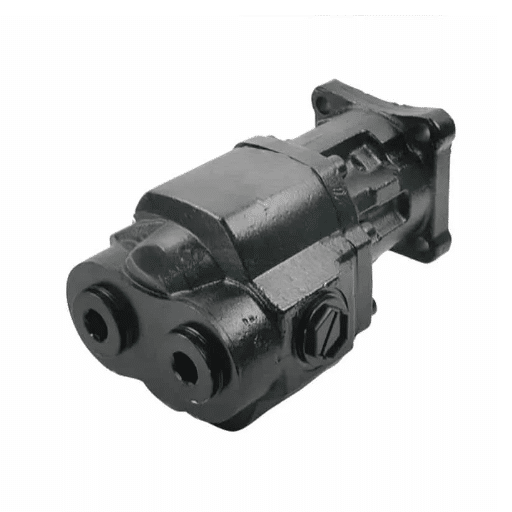
The operation of a starter motor is critical in initiating the engine’s functionality, and the starter solenoid plunger plays a pivotal role in this process. This article aims to unravel the technical workings of the plunger starter motor, focusing on how the solenoid plunger acts as a key intermediary to bridge electrical power and mechanical action within the system. By gaining a detailed understanding of this component, readers will be equipped with knowledge about its design, functionality, and how it contributes to the overall efficiency of the vehicle’s starting mechanism. Whether you’re a professional in automotive repair or an enthusiast eager to understand your vehicle’s internals, this exploration will provide an authoritative framework on an often overlooked yet essential part of engine ignition systems.
What are common problems with plunger starter motors?

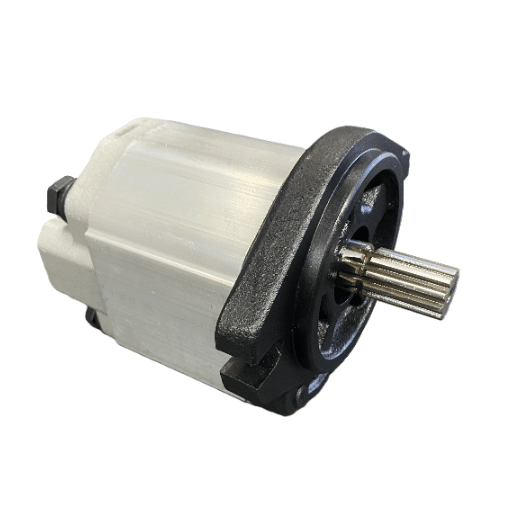
Signs of a faulty starter motor solenoid
Frequent examination of the electrical system is essential to protect your equipment and assure its efficiency. Usually, minor problems like loose connections, voltage, or resistance are often not paid attention to but these checks can greatly reduce the chances of greater, more expensive problems and reduce operational downtime in the future. Developing a framework that follows scheduled inspections will increase the lifetime of crucial machine parts and enhance overall productivity.
- Limits regarding resistance measurements must always apply: Regarding standard technical guidelines, crucial connections such as ground points or battery terminals should always be below 0.02 ohms and this will provide maximum energy efficiency.
- Voltage control: For starter motor systems sufficiency stability of 12 volts is ideal for most automotive purposes and 24 volts is generally sufficient for industrial purposes. It is crucial to pay attention to the voltage levels supplied, as high levels can easily damage the components.
- Regular checkups: The electrical system should get maintenance after each 500-1000 working hours and might change depending on where and how the machines will be used. For more specific instructions on maintenance of your systems consult the user manual provided with your machine.
While these factors are extremely helpful, for your specific needs it is wise to always consult your service manual as it tackles the dos and don’ts of all tolerable limits to achieve technical and industry standards.
Issues with the starter gear engagement
Starter gear engagement problems are commonly caused by misalignment, wear and tear, or improper lubrication within the starter mechanism. To solve these problems, the following troubleshooting steps must be analyzed:
- Starter Gear Calibration: Gear engagement and disengagement issues as well as wear are caused by misalignment of the started gear and the flywheel. The misalignment should not exceed 0.05 mm.
- Wear Limit Measurement: Inspect the gear teeth for wear. Replacement is necessary when the tooth height is less than the specified limit set forth by the manufacturer (typically greater than 20%).
- Adequate Lubrication: Ensure a careful selection of grease or oil grade and quantity for maximum gear efficiency. Inefficient selection can lead to gear malfunction and failure.
- Cranking Voltage: Check the voltage of the starter motor which should ideally be 12V, pas resented in the machine’s manual. 12V is a common value but will differ in different systems therefore check the manual first. Low voltage can contribute to ineffective gear engagement.
- Flywheel Condition: Check for teeth missing around the edges of the flywheel as this will significantly alter starter gear meshing.
Addressing all these parameters systematically can allow for proper diagnosis and resolution of starter gear engagement issues. Always check the service manual that corresponds to your machine as it will provide thresholds and guidance on operations such as these.
How to diagnose starter motor issues?

Identifying symptoms of a failing starter motor
While diagnosing the symptoms of a malfunctioning starter motor, I pay particular attention to a few key aspects that indicate the problems. First, I note whether there are unusual sounds like grinding, clicking, or whirring when trying to start the engine. Such sounds likely indicate problems with the engagement of the starter gear or some internal component malfunction such as with the pinion gear or the solenoid. Secondly, I look to note whether there is sluggish or no engine cranking and this can be an indicator for the insufficient torque production by the motor.
- Battery Voltage: The resting voltage should indicate the range between 12.4V and 12.6V. Anything below this range means that there is little starter motor power which significantly affects the performance.
- Current Draw: While running, the average current draw of a starter motor should be in the range of 150 to 250 amps (this is model-dependent). Deviation from specified limits in a current draw may point toward an internal electrical defect.
- Voltage Drop in Wiring: Check for the voltage drop at the starter motor terminals. If the voltage drop is greater than 0.5V there are likely some loose or corroded connections that are restricting power.
- Starter Motor Speed: Check to see that the speed of the starter motor is by the manufacturer’s specifications, which is in RPMs. Slow or unstable speeds suggest that internal components are deficient.
Taking these factors into consideration one would be able to efficiently and reliably discern the problems that are associated with potential issues of malfunctioning starter motors.
Testing the starter solenoid and plunger
To test the starter solenoid, I first verify the continuity between the solenoid terminals using a multimeter. The resistance across the solenoid’s coil should typically fall within the range of 0.4 to 0.6 ohms, as per standard manufacturer guidelines. Resistance values outside this range could indicate coil damage or internal faults.
Next, I apply a direct current to the terminals to check for possible mechanical functionality of the plunger. In this scenario, the plunger engages and moves freely which means the solenoid is indeed functional. However, a slower or non-responsive plunger enables us to think that there is a sign of wear or accumulation of contamination on the plunger’s contact surface. Further inspection can be done visually as well. A sign of putting or excessive carbon are warning sign. These signs may cause problems with electrical continuity.
Lastly, while monitoring the voltage drop across the solenoid under load, we can easily measure if the solenoid can withstand proper contact when engaged. A voltage drop above the range of 0.2V can be indicative of excessively high resistance. Weaker contacts and internal corrosion can cause this.
Can you repair a plunger starter motor yourself?

DIY starter solenoid repair tips
If you have the right tools and a technical understanding of the system, you can fix a plunger starter motor yourself. Here are a few self-help ways you can go about repairing a starter solenoid:
- Determine the Condition of the Contacts: The first step should be removing the solenoid house for copper contact inspection – look for pitting, burns, or any cases of excessive wearing. Resistance across the contacts that is considered excessively high – typically above 0.2 ohms – suggests corrosion or damage. Some of these contacts may have to be filed, for restorations.
- Evaluate the Coil Windings: A multimeter can check the pull-in and hold coil winding. For different types of solenoids, resistance values ranging between 0.4 to 1.2 ohms are considered normal. If those values exceed it means that the coil is not functioning properly and would require replacing.
- Inspect the Mechanism of the Plunger and The Spring: The plunger paired with the spring is meant to work harmoniously, in other words: sufficient tension should be produced whilst the plunger must not be starved for freedom of movement. Should clean out any rust or debris on the shaft of the plunger and lubricate if needed for the piece to move freely. Springs that are depicted as undergoing fatigue or deformity should be replaced.
- Checking Voltage Drop: With the load applied to the solenoid, record the voltage drop across the terminal. A reading higher than 0.2V suggests excessive resistance from poor contacts or corrosion. Replacing the damaged components will improve conductivity.
- Final Assembly and Functionality Testing: Reassemble the solenoid, ensuring all connections are tight, then check the solenoid on the starter system for proper engagement and functionality.
Maintain the safety protocols for working with electrical machines and always check the user manual to measure certain parameters and perform repairs accurately.
Tools needed for starter motor maintenance
When a starter motor is being serviced, this work is carried out with certain tools that are critical for the accuracy and performance of the motor being serviced. The tools include:
- A multimeter: It is used to check various electrical parameters including the volts, resistance, and continuity. For example, testing coil resistances usually have to be within the limits set by the manufacturer, which is between 0.2 and 2 ohms for most starter motors.
- Torques: Generally speaking, screwdrivers and wrenches are required when assembling and disassembling components. Your tools must be of the proper size, otherwise, screws and bolts can be stripped.
- Electrical Cleaning Products: These products are most suited for cleaning up dirt, oil residue, and oxidization from corroded materials for the best conductivity of current. Specialized cleaning solution maintains the cleanliness of electrical contacts.
- Torque Wrench: This tool helps to ascertain that the bolts are tightened to the stated torque limits to tighten the bolts without risking structural integrity due to under or over-tightening.
- Power Source For Testing: The battery charger or power supply serves as a reliable source of voltage, that is 12V or 24V, enabling one to conduct tests on the starter motor.
- Puller Tools: These may be needed for the safe removal of bearings or other press-fit structures while avoiding damage.
- An Insulation Tester: Also referred to as Megger, insulation testers help to gauge insulation resistance, any possible short circuits, and breaks in the windings.
- Calipers or Micrometers: For working with small parts, micrometers are used along with calipers to get the exact measurements needed for components such as the shaft diameter and other tolerances set by the bearing or the manufacturer.
These tools collectively allow accurate diagnostics, proper maintenance, and repair of starter motors while adhering to safety standards.
How to replace a faulty starter motor?

Choosing the right replacement starter for your vehicle
When it comes time to select the correct replacement starter for your vehicle, I suggest you begin by checking for any specifications given by the manufacturer. These specifications are often available in the vehicle’s service manual or can be acquired through an OEM.
- Voltage rating: The replacement starter should work with the voltage of your car’s electrical system, which is most commonly 12V for regular passenger vehicles and 24V for heavy-duty ones.
- Physical Fitment: Check if the size, mounting bolt pattern, and alignment fit your vehicle’s engine and transmission specs. It is always good to do the measurements with calipers or a micrometer to be more certain.
- Power and torque ratings: The kilowatt output and torque specification of the starter motor should be high enough to effectively crank your engine, paying specific attention to cold weather conditions.
- Gear reduction ratio: If needed, check that the new starter has the right gear reduction ratio to provide the correct balance between cranking speed and battery power used.
- Type of Engagement: Make sure there is to your vehicle an inertia or pre-engaged starter, as incorrect replacements can easily cause damage.
- Electrical Connections: Check that the connections to the battery terminal, solenoid wiring, and starter relay are compatible.
- Brand and Warranty: Choose a well-known brand and check the scope of warranty offered to be certain of support and reliability.
By following these guidelines I can assist you in selecting a replacement starter that is guaranteed to perform up to standard and function reliably in your automobile.
Post-installation testing and troubleshooting
After fitting the new starter motor, it is important to conduct thorough testing to ensure it is functioning correctly and identify any other issues. To check how effective the installation was, do the following:
- Initial Test Crank: Using the ignition key or start button, check to see if the engine cranks appropriately and does not produce any abnormal noises, nor does it do so excessively slow. Issues with alignment and mounting can be linked with abnormal sounds.
- Voltage Check: With an active cranking condition, the voltage at the starter’s terminals should be measured using a multimeter. The voltage at the terminals should read between 9.5V to 10.5V under load. Volts below this range may have issues with the battery or there might be some issues with the electrical connections.
- Current Draw Assessment: Using an ammeter, measure the amount of current the starter is drawing. Make sure the number is accepted by the makers which is around 130 to 250 amps, depending on the vehicle’s starter and the engine. Being within this range is accepted for starters which tend to be misaligned. Too much current draw can suggest an internal starter malfunction.
- Inspection for Heat and Odor: Inspect directly after operation and check the starter for any unusual internal heat created, or burning smells which could suggest excessive electrical issues or extreme friction.
- Recheck Engagement: Assess the starter’s connection to the flywheel. Irregular engagement will usually lead to sounds of grinding or failure of cranking. Correctly align or shim the starter according to your vehicle’s specifications.
- Verify System Compatibility: Confirm that all electrical connections are in place and that the solenoid and relay can communicate with the starter. In addition, ensure that all connectors compromising system integrity are not damaged by corrosion or are lost.
If carefully followed and every technical assumption tested, you can isolate the problem and ascertain the dependability of the starter. If any of the factors measured or noted are outside the expected range, check the manufacturer’s specifications to determine and remediate the problem.
What’s the difference between a starter motor and an alternator?

Understanding the roles of starters and alternators
The starter motor and alternator have different functions in a vehicle’s electrical and mechanical systems. The starter motor is in charge of enabling the car engine to run by changing electric power from the car battery to mechanical energy that cranks the engine. Important technical for the starter are voltage, which in most modern vehicles is about 12V, current draw which during cranking is usually between 150 to 350 amps, and lastly, torque which the starter should provide to overcome the primary resistance of the engine.
The responsibilities of the alternator, however, begin only after the engine is running. Its purpose is to produce electric power to recharge the battery and operate the vehicle’s electrical system. Some of the technical characteristics that determine the performance of the vehicle’s alternator are output voltage which is usually between 13.5-14.8V and output amperage which varies for different vehicles due to their electrical requirements. For instance, standard alternators can put out 50 to 100 amps while more powerful alternators that support more complex systems or modifications can surpass 200 amps.
In short, the purpose of the starter motor is to supply mechanical energy to the engine for starting, while the alternator takes care of the electrical requirements after the engine has started.
How these components work together in your vehicle
Switching the ignition key engages the starter motor which commences the application of mechanical power to the engine crankshaft. This action requires drawing a high current from the battery that ranges between 150 to 300 amps depending on the type and size of the vehicle’s engine. The starter motor turns on, and once it spins the engine and starts the combustion, it stops and disengages.
Now the alternator comes into the picture. The alternator must satisfy the electrical power needs of the vehicle and charge the battery at the same time. An alternator is driven by the engine via a belt. An alternator works by converting mechanical energy into electrical energy through electromagnetic induction. Some important features of the alternators is the regulated output voltage which is maintained between 13.5V and 14.8V to avoid excessive charging and ensure that the battery’s charge is maintained, and the output current (amperage) to the battery is proportional to the charge pulled by the vehicle systems. For instance, the output of the alternator in a modern car that has a lot of electronics is over 150 amps.
This system is made up of various components working together, enabling a dependable power supply during the ignition and other ongoing electrical functions. Maintenance of these systems is just as crucial for vehicle reliability and overall optimum performance, as it enables good electrical connections and checking for mechanical wear.
Frequently Asked Questions (FAQs)
Q: What is the function of a plunger starter motor in automotive systems?
A: A plunger starter motor is responsible for engaging the starter with the engine’s flywheel to initiate the engine’s rotation. When you turn the ignition key, the plunger pushes out, causing the starter motor’s pinion to engage with the flywheel before the motor begins to turn the engine.
Q: How does the starter solenoid plunger work?
A: The starter solenoid plunger is an essential component of the starter motor. When you turn the key in the ignition switch, it activates the solenoid, which pulls the plunger. This action serves two purposes: it pushes the starter gear (pinion) to engage with the flywheel and closes the circuit to provide power to the starter motor.
Q: What happens if the plunger doesn’t function properly?
A: If the plunger doesn’t work correctly, the starter motor may not engage with the flywheel, or it might not receive power. This can result in a clicking sound when you turn the key, or the engine may not start at all. In such cases, you may need to replace the plunger assembly or the entire starter motor.
Q: Can a mechanic repair a faulty plunger, or does the entire starter motor need replacement?
A: In many cases, a skilled mechanic can repair or rebuild the starter motor using a repair rebuild kit, which often includes a new plunger assembly and other components like brushes and the commutator. However, if the electric motor itself is damaged, it may be more cost-effective to replace the entire starter motor.
Q: What role does the return spring play in the plunger assembly?
A: The return spring is crucial for the proper functioning of the plunger. After the engine starts and you release the ignition key, the return spring pulls the plunger back, disengaging the starter gear from the flywheel. This prevents damage that could occur if the starter motor were to continue running while the engine is operating.
Q: How can I tell if my starter motor’s plunger is failing?
A: Common signs of a failing plunger include difficulty starting the engine, a clicking sound when turning the key, or the starter motor spinning without engaging the flywheel. If you experience these issues, it’s best to have a mechanic inspect your starter system. You can also check customer reviews online for common symptoms and solutions.
Q: Is it possible to manually engage the starter if the plunger fails?
A: In some cases, if the plunger fails to engage the starter, you might be able to start the car by gently tapping the starter motor. This can sometimes cause the plunger to unstick and engage properly. However, this is only a temporary fix, and you should have the starter system checked by a professional as soon as possible.
Q: How do the brushes and commutator interact with the plunger in a starter motor?
A: While the plunger is responsible for engaging the starter with the flywheel, the brushes, and commutator are part of the electric motor that powers the starter. The brushes conduct electricity to the commutator, which is connected to the armature. This creates the rotation necessary to turn the engine over. A properly functioning plunger ensures that this rotational force is transmitted to the flywheel effectively.